Lawnmowers require frequent maintenance for them to perform optimally. One essential maintenance you would do regularly is changing the lawnmower air filters. But you first need to find out where the air filter on the mower is located.
This filter screens the air and prevents dirt and dust from getting into your engine through the carburetor. Without the air filter, all kinds of debris and dust get sucked in, and can slowly damage parts of the engine. So the air filter is a vital component in the machinery, and it is crucial that it is never clogged with dirt.
But to carry out the maintenance you need to first locate the air filter on your lawnmower. Read this if you’ve been asking yourself where is the air filter on my lawnmower?
Table of Contents
Where is the air filter on a mower?
The air filter’s location depends on the type of lawnmower you use. The push mower has its air filter at the top of the engine. Whereas other types of mowers have their air filters located by the side.
Its filter is usually covered in a plastic or metal case, and fastened to the side or near the top of the engine with a screw. Some of them get secured near the engine with a snap fitting.
Some filters on mowers are disposable, while others are reusable. The disposable ones are the paper filters and require complete replacement during maintenance as you can not wash them like the foam filters.
Follow the steps below to change a paper air filter or a worn-out foam one.
How to replace your lawnmower air filter
- Remove the spark plug
- Find the air filter’s location
- Remove the covering
- Clean the filter chamber
- Replace the air filter
- Reconnect the spark plug and test the sound of the engine
Generally, spark plugs are fitted behind or at the side of the lawnmower engine. It will be close to the air filter, so you need to disconnect it before you begin.
As we have explained, your air filter location would depend on the type of mower you use. But they are typically located by the side or the top of the engine. It would be encased in a plastic or metal covering and fixed in place with one screw or a snap fitting.
The air filter covering might be plastic or metal, depending on the brand and its manufacturer. You would need a screwdriver or a wrench to uncover the filter. Once you find it, gently remove all the screws, taking mental note of how they’re attached because you have to return them. Observe how the filter sits in place so that you can fix the new one accurately.
As we have mentioned, there are disposable air filters and reusable ones. The disposable ones are the paper filters that come in various shapes. It could be square, rectangle, or oval-shaped. There are tiny holes in between that allow clean air into the carburetor while the paper blocks the dust and dirt. This type of paper filter has to be replaced once during maintenance since one can not wash it.
The other type is the reusable filter. It can be a soft sponge or a foam, cut into shape to fit well inside the filter chamber. Foam filters have to be mildly soaked in oil. This helps it catch the dirt and dust while letting air into the carburetor. If it is not oiled, dust may pass through it with the air, and it will only block a large piece of dirt.
There is also a hybrid filter called the dual element filter. This one combines the foam and the paper to properly block all dirt from getting in. It is designed with foam as the first layer to trap the dust and the paper as the inner sheet. With this, the paper filter’s lifespan is lengthened, and much cleaner air gets passed through.
After uncovering the filter chamber, gently remove the old filter from it and clean the inside carefully. Make sure dust and dirt do not get into the engine while you clean. Gently wipe on all sides of the area with a dry rag and remove the dirt and dust.
Place the new air filter inside and make sure it sits nicely in the air filter compartment. Return the cover and fasten all the screws that were taken out when you started.
After putting the spark plug in its place, start the engine to test that it sounds right. A funny sound might indicate that the filter does not sit properly in its case.
Things to do before changing the air filter on your mower
- Inspect the filter
- Oil the foam filter if applicable
- Inspect the covering inside the air filter
- Wash the foam air filter if necessary
Since paper filters are disposable, they have to be replaced with a new ones. So before getting its replacement, check for holes and thick coatings of dirt first.
If it’s just light dirt and dust, then you can get rid of those by gently tapping on the surface with a dry duster.
If you are replacing a worn foam filter, remember to oil it before refitting it to the chamber. The oil should be very light and the same as the oil you put in the engine.
Squeeze the filter to ensure the oil touches all its parts. Wrap the filter in a thick rag and squeeze hard to remove excess oil.
We should mention that not all foam filters require oil on them. For this, you need to check the lawnmower user manual to confirm if yours needs oil or not.
Before replacing the air filter, check the sealing gasket between the filter and the carburetor. If it is worn, you might need to replace that also.
If your foam air filter still looks to be in good shape, and there are no signs of substantial damage or wear, there’s no need to change it yet. You can wash the dirt and oil off and reuse it.
How to wash foam air filter
- Prepare what you’ll need
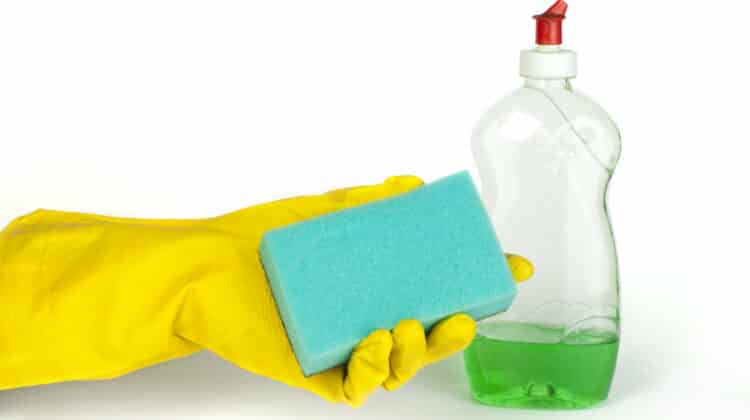
- Gloves
- Wash basin or garden hose
- Clean, dry rag or paper towel
- Two spoons of engine oil
- Liquid dish soap
- Turn off the mower and remove the air filter
- Wash the foam air filter
- Put oil in the foam
You will need the following:
Disconnect the spark plug after turning off the engine. Follow the process above to remove your air filter from its chamber.
You can mix the liquid soap and water in the basin and gently wash the foam inside, or you can wet the foam, add soap and wash carefully.
Rinse it with water and squeeze thoroughly for all the soap to come out.
Wrap the foam in the paper towel or dry rag, and squeeze it to get rid of excess soap and water.
First, make sure the foam is dry by wrapping it in a paper towel or dry rag yet again and squeezing it. Place the foam under the sunlight for one to two hours to dry it properly. Then put the oil on the foam and spread it about with your hand.
You can squeeze it into the foam to make sure the oil soaks through all its part. Avoid putting too much oil so it does not drip into the engine. Excess of it can block air from getting in.
Now your foam filter is ready for reuse. Return the filter as we described above. Then start the engine to test the mower, and make sure the filter was properly installed.

