Do you want to learn about how to install roofing felt?
Roofing felt also has other names: it is sometimes called roofing tar paper, roofing felt underlayment or roll roofing. It is the protective layering set up in between the roofing shingles and the roof deck.
Roofing felt consists of the base, which comes from natural materials like wood cellulose. It can also be made from synthetic substances like polyester or fiberglass. Then it is encased with a protective coating like bitumen that drives backwater but still enables it to breathe.
Table of Contents
How to install roofing felt
When installing a new roof, roofing felt is an integral step in the procedure. As mentioned, it provides a shield between the roof deck and the shingles.
The tools and materials that you need
It is an easy process to install roofing felt if you have the proper tools and materials, so here is what you will need:
- Rolls of roofing felt
- Ladder
- Hammer
- Roofing nails
- Metal drip-edge flashing
- Staple gun
- Staples
- Utility knife
- Bristle brush
- Sandpaper
- Dry rag
- Felt primer or paint
- Paintbrush or roller
- Roofing sealant
- Caulking gun
- Take measurements
The first step in the process is to take measurements of the area of your roof surface. Measure in inches the width and length of one side of the roof.
For instance, if the roof length is one-hundred twenty inches and the width is two-hundred forty inches, the entire area is twenty-eight thousand eight hundred square inches or two hundred square feet. Continue doing this for each roof surface.
Later on, make a total of each of the surface areas so that you will know how much felt you will need for the roofing task.
Also, add about two inches for each of the measurements, this way, there will be extra felt over the roof’s eaves. - Make sure to buy enough felt to cover the whole roof
Before buying the roofing felt, convert the prior measurements from inches to feet since the rolls of felt are measured in feet. One regular felt roll can cover four-hundred and thirty-two square feet.
Make sure to buy an additional felt roll in case you accidentally damage it or you need some more.
To get the surface area of your roof in square feet, divide it in square inches by one-hundred forty-four. - Cut the roofing felt to the proper size
Unfurl the roofing felt on a flat surface and use your utility knife to lightly mark a vertical line to indicate the length of the roof, including the rear and front overlaps.
Do the same process to the other end of the felt roll. And mark a straight line to enable a clear vertical cut. Then carefully cut the felt and make sure you are not veering off the marking.
If your utility knife will not suffice, get a hooked blade instead, which will make an easier cut. And make sure that the surface you placed your felt on does not have anything sharp on it. - Remove old felt
Before installing the felt, put the ladder against the wall of your house to climb on top of your roof.
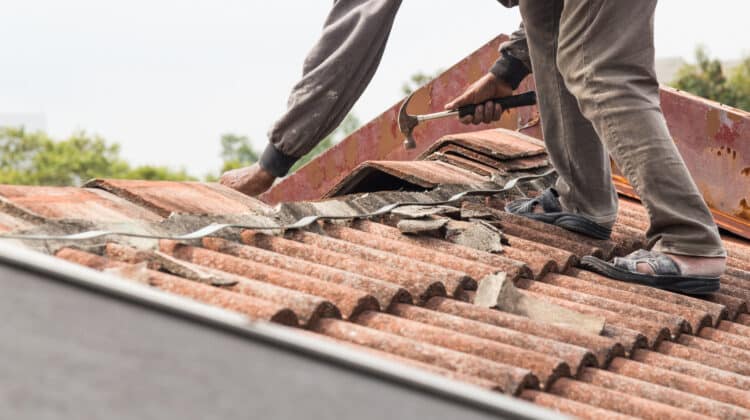
Once there, remove old felt material. Pull it out with your hands, and if they would not come loose, place your utility knife underneath them to pry them out.
Pull out old nails that have been driven down for the old felt with a claw hammer. - Clean the roof decking
Clear away any dirt, debris, old felt material, nails, and other objects on the roof. Use a bristle brush to gently sweep away all the dirty stuff.
Use forty to sixty grit sandpaper to get rid of hard to remove dirt.
After cleaning all the dirt off the roof, make sure that it is dry by wiping off perceived wet areas. Use a dry piece of rag to wipe off the wetness.
Do not place the roof felt over wet decking since it will buckle or warp it and even cause it to rot. - Remove and substitute any rotting or damaged material on the roofdecking
Inspect the roof if there are damaged or rotting components, and fix them.
Pry loose old nails with a claw hammer and try to use the same kind of nails to have a uniform look. - Apply felt primer or paint to better adhere the felt
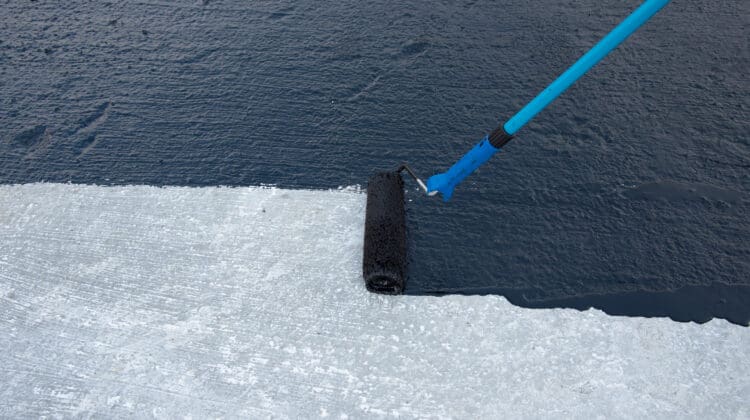
Use a roller or a paintbrush to apply felt primer or paint on the roof. Paint it gently from one end to another in horizontal lines, and begin at the bottom going up to make it easier.
If are using paint instead of felt primer, make sure to utilize water-based enamel acrylic paint, which has rust-suppressing qualities.
If you prefer felt primer, be sure to use a general-purpose primer that has a low viscosity. - Attach the roofing felt
Begin unrolling the first felt roll at the bottom portion of the roof, going left or right, and make sure it is flat.
If it is a hip-type roof that has slopes on all four sides, start at the top square hip. And provide about one foot of roofing felt hanging over.
As you roll it, make constant adjustments to make it straight and no air bubbles are forming underneath.
Do not install the roofing felt vertically across since many problems will come up after.
Hang the felt’s lower edge across the eave (which is the part overhanging on the walls) by less than one inch (specifically half to three-quarters of an inch). - Stapling the felt
Use a staple gun to staple the first roll of felt onto the roof. Apply three staples in a vertical formation on one side.
Be sure to keep each tack two to three inches from the roof edge. - Stretching to tighten the felt
Since one side of the felt has been stapled, pull the other side tightly, hold it to the surface, and make sure it lies flat.
Be sure you are doing it carefully, and not the felt in half. - Unfurl the next row of felt
Get another felt roll and unroll it in the opposite direction next to the first one. If its initial direction was east to west, the next should be west to east.
Make sure to give an overlapping allowance of about four inches between the top of the first felt roll and the bottom of the second roll.
Be sure to apply the rows as perfectly as you can in a parallel direction. Many brands of felt have been marked on them as a guide, and this way, the application will be straight and parallel. - Continue rolling the remaining felt materials
After unrolling the second felt row, continue the process until you reach the peak of the roof. Once you get close, include another felt roll to overlap the ridge by about one foot.
Once done, do the same thing at the other side of the roof. - Fit the felt around chimneys, vents or other protrusions
The measure also the felt materials to accommodate any exterior protrusions in your roof and cut them into shape with your utility knife.
Lay it over the edges of the metal flashing over the protrusions and connecting pipework. Make sure you are still overlapping them from each other by four inches. - Nail down the felt
Drive down the roofing nails with a hammer, and make sure you are using 0.59 inch or 15mm nails that are galvanized clout.
Begin hammering on the perimeter of the topmost corner, space each nail from each other by about thirty to thirty-six inches along the side closest to the peak of the roof. And about twelve inches on the side nearest to the ground.
Make sure you have an ample supply of galvanized clout nails to finish the entire roof space. Be careful in driving down the nails, and if the heads pierce the felt material, it can cause unwanted leaks.
Take note that the nails should be long enough to penetrate two felt layers across areas that overlap with each other.
You can also use plastic cap felting nails instead of galvanized clout ones. - Apply roofing sealant
Cover all the driven-down nail heads with roofing sealant so that water cannot penetrate them. Load it on a caulking gun for easier application.
Aim the gun at a forty-five-degree angle pointing downwards, pull the nozzle and move it around each nail. Make sure you are aiming at a steady pace so that the application is even.
Installation of the roofing felt is done, but this is merely a step in completing the roofing process.
You still have to install roofing shingles or any other preferable roofing material, to enable total protection from weather elements outside.
FAQ
Is roofing felt waterproof?
Yes, roofing felt is waterproof since it repels water from leaking through inside. And it also provides an additional layer of insulation and protection.
Why is roofing felt important to your house?
Roofing experts have discovered that a protective bed between the wooden layer covering the rafters (the roof decking) and the roof shingles enables the roof to last long and even look better.
And there are many important reasons why homeowners need roofing felt in their houses:
- It is a water repellant
Whenever harsh rains and snow occurs pour down, it can get trapped underneath the roof shingles. It will put the roof deck at risk and the interior components with molds, leaks, and moisture damage.
Roofing felt makes sure that the water flows off gradually from the roof and prohibits it from leaking into the house. - It supplies a secondary protection from water or ice damage
In the colder regions of the planet, residential water damage from snow or ice dams is a common problem. As the heat within the house melts the ice or snow on the roof, water can creep into the home. Thus causing untoward destruction to the insulation, walls, and the ceiling.
You will need a water and ice protection membrane that will seal off in and around the roof fastener shanks. However, it would not be enough, and roofing felt supplies an additional layer of protection from water leakage. - It gives additional weather protection
Even though the roof shingles serve as a shield against the harsher weather elements, the roofing felt serves as additional weather protection and prolongs the roof’s lifespan.
If unfortunate bad weather occurs and cracks loose the roof shingles, the roofing felt provides a protective covering against water and rain until the roof is fixed or replaced. - It will aid in your home to get a Class A fire rating
Once the roof is inspected and evaluated for a fire rating, having only roof shingles will disallow acquiring a Class A fire rating.
To get the desired rating, make sure to select compatible roofing felt that complies with building codes. Check the product label for industry-standard compliances like the CSA or Canadian Standards Association or ASTM International. - It allows protection for your roof while work is done
Roofing felt shields the deck from exposure to outside elements while a roofer is fixing or replacing it. - It make the roof have a uniformed look
A regular roof without roofing felt will is not entirely flat or straight.
Installing a layer of felt will provide an even surface for the roof shingles to be installed. It will prevent the wood decking pattern telegraph through the shingles by adding a layer atop the uneven wood surface. - It keeps wood resin stains from happening
There are types of wood that leach resin as it ages, and if you have it for your roofing deck, it can seep through the cracks and into the home.
Roofing felt will serve as a shield from the resin, and stop it from staining or damaging the shingles.
What is the cheapest roofing felt?
Bitumen sarking felt is regarded as the least costly roofing felt, which is available for purchase in any hardware or home improvement center.
Do you need a blowtorch to apply the felt?
You will not need a blowtorch for applying the felt on the roof, and you only need it for granular roofing rolls.
Some roofing felt types are self-adhesive, otherwise (as mentioned above), use paint or felt primer for adhesion.
Is there a top of bottom of felt roofing material?
There are no particular sides for top or bottom but look for a rougher side to go up. Just make sure to overlap it with each other.
Do I need to apply tar before installing the felt material?
You do not have to apply tar before laying down the felt roofing. Some have build-in adhesives, or you can use paint or felt primer for adhesion.
Can I install felt when it is raining outside?
No, and you have to make sure that the roof is completely dry so that it would not rot.
Conclusion
Now you have learned how to install roofing felt the proper way. It is a necessary step in the roofing process, which all homes need to get compete for protection from the weather elements outside.


