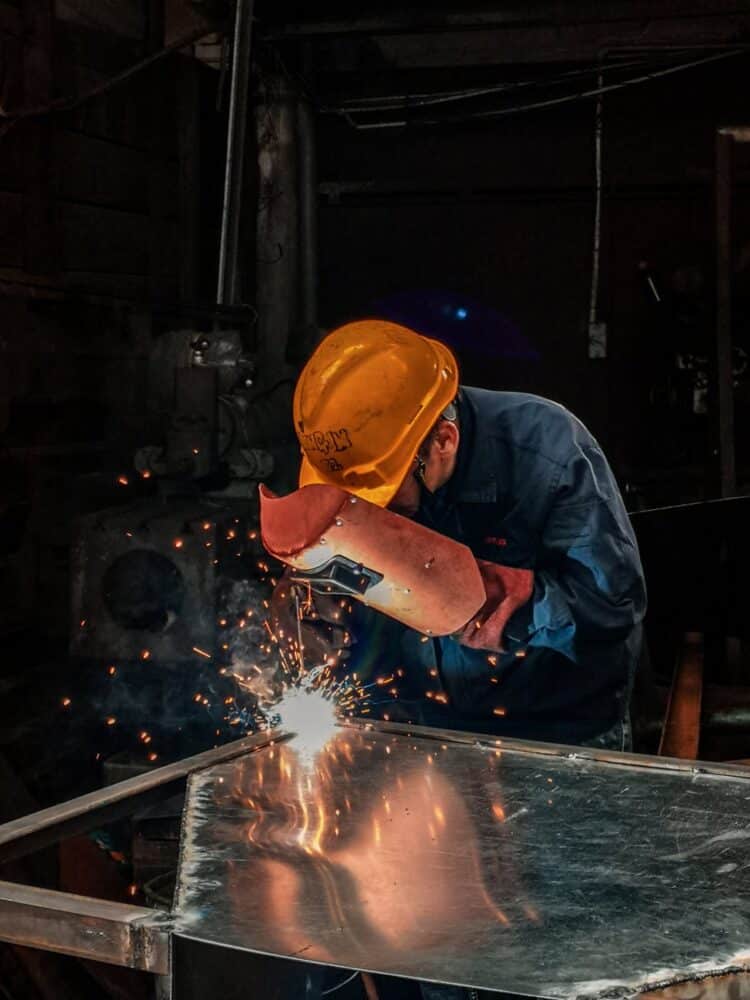
Wondering what welding positions are? If you never taken welding lessons or joined metal, you will find this challenging. You may believe that a welder sits at a workbench and joins the metal components in front of them. But welding metals can be challenging in daily working conditions.
You can mount metal parts on the floor, on edge, or fixed to the ceiling. But, these different scenarios need different welding skills. So, professional welders must learn to join metals in any position. If they have the proper welding knowledge and experience, this is important. Welding is a broad area; hence, you need a lot of expertise when fusing metals.
Several welding positions exist. You should be aware of the various welding positions available. It is important if you want to advance your welding experience.
Table of Contents
So what are welding positions?
Welding positions are the positioning of metals used by a welder for welding. Due to the effect of gravity, welding positions influence the molten electrode flux. A welder should know several soldering positions suitable for many operations. It will help him/her to get a satisfactory soldering operation.
That is, the soldering positions are the distinct joining angles of metals. Horizontal, flat, vertical, and overhead are the four types of fusing orientation. The most common types of welds are groove and fillet solders. Welders can do these two welds in all four welding positions. Besides, specific letters denote fillet and groove welds.
Today I’ll go over the four different types of soldering positions. You can expect to perform these positions in your routine welding operations.
Why is it important to understand these positions?
Having seen that there are different soldering positions, we should delve more. let us try to understand why these positions are crucial to know.
- It helps you to choose the correct solder for your project.
- You can achieve the appropriate visualization of the correct soldering technique required.
- The knowledge helps you to have content when conversing with fellow welders
- You will be able to undertake real personal and business tasks and projects
- You will achieve compliance according to the industry requirements. In general, you will improve your overall welding knowledge and add to your experience
- The knowledge also comes in hand if one is looking for welding certification.
This understanding is essential to develop good welds that will withstand extreme stress. And in extreme circumstances, it may be the difference between life and death. In other words, good welding practices increase safety in homes and public places. Just imagine a structural defect in a public place. It could cause a risk of injury and death.
Proper positioning of welding elements is essential to quality and efficiency. The welding positions influence all aspects of the weld. The depth, tempo, tie-in toes and spreader are all effected by welding position. Others are latch tilt, working angle, voltages, amperage, and wire feed pace.
Understanding the numbering system in welding positions
It is crucial to have a working knowledge of the numbering system that applies in the welding field. It is necessary to succeed as a welder and understand the welding position. It is the technical aspect of this field, but it is not a complicated matter.
What do the numbers mean in the welding positions (Position 1 to 6)?
- Position “1” is a flat weld when your soldering material lies flat next to you. For example, imagine flatly throwing a metal piece on the welding table – this would be said to be position number 1.
- Position “2” is a horizontal piece of welding. It’s about eye level and parallels to the floor. A horizontal position would require that you rest your arms on a raised object. Rather than your material lying flat on your table. From that position, you can do the welding from left to right or vice versa.
- Position “3” is an upright welding position. The material is set at approximately eye level for the welder. But, this is vertically welded rather than running side by side. It is usually done from the bottom to the top of the weld, dubbed uphill. The welding runs from the top to the bottom of the soldering part. This is a downhill in specific applications, including pipe welding.
- Position “4” is an overhead soldering position. It’s not necessarily literally above your head. It consists of a soldering mount, in which the welder looks up at its connection when fusing. For example, although your material could be 2 inches above eye level, it is still an overhead solder.
- In pipe welding, the “5” position is applied. Here’s where the pipe is horizontally placed on the floor and has to be on the same level as the floor. The welder must create a weld that extends from the top of the pipe to the bottom of both sides of the pipe.
- In pipe welding, the “6” position is also employed. The tubing is placed at 45 degrees, and the full welding on the two sides of the tube must complete. Left-hand welding and right-hand fusing are essential to this position. Ambidexterity is very important in this case.
Apart from the six welding position numbers, a welding position can also be in the form of the letters “G” and “F”. G and F are the two types of joints in welds.
What the joints mean (“F” and “G”)
Fillet Welds
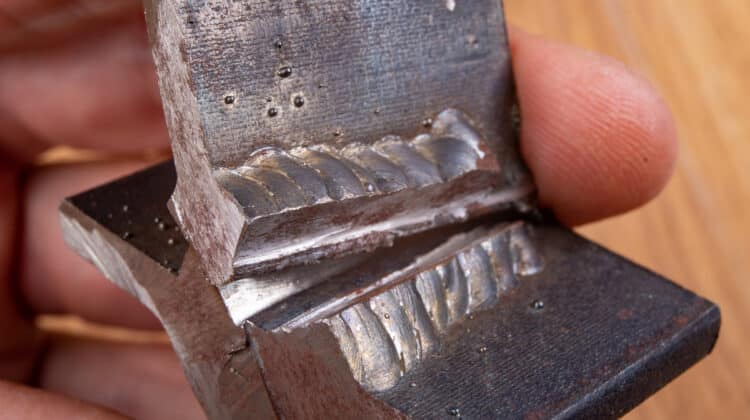
These are the F-Joints. A fillet joint occurs when two pieces of metal at a 90 ° junction are fused together. The most frequent type of fillet joint is the T-joint, but it is not uncommon for the joint to be less than 90 ° or more. In general, fillet welds create a flatter welding bead. Both walls of the components should get in touch with the filler rod. Fillet welds and T joints are excellent methods to use your beads. Lap joints can also be quite helpful. It occurs when two pieces of material lie against each other.
Groove Welds
When you weld two pieces of material that are very close together, you create a groove weld. The two pieces must join at a close angle which lets you fill a deeper groove. These joints allow you to fill a deeper groove (gap). It is usual for many plate tests. For example, when the plates attach, two 3/8″ thick metal plates must slant at 37.5 °. The resulting weld fills the gap (groove) when the two plates get welded together.
The easiest way to differentiate between these two types is to look at their positioning. The position of the materials that will be welded together is crucial. For example, a fillet weld occurs when two metal parts are linked together. The joint should be perpendicular to each other. In other words, you would have to fuse them using a fillet weld if you positioned two plates in a 90 ° orientation. Groove welds, by contrast, occur in a flat position. It means that the two materials to be joined together must occur shoulder to shoulder. The fillet must happen between two metal planes. This where it differs with the groove. The metal planes must occur across the vertical and horizontal planes. On the other hand, the groove occurs across a single metal plane.
Now that we have done the basic rundowns of the welding positions, it is time to delve deeper. By so doing, we will gain a better understanding of all four positions.
Flat welding position – 1G & 1F
The flat position is the easiest and quickest to learn. The flat position is like shooting fish in a barrel. You won’t have to fight against gravity when working. Basically, beginner welders will start their welding lessons from the flat position. The flat welding position occurs as if you are writing on a flat piece of paper. The flat position is also known as ‘down hand position.
Letting the molded material flow into The horizontal position is a little trickier. The flat position is easier. Horizontal positions, like vertical and overhead, can be more arduous to achieve. They demand a higher proficiency. During welding, the material is held parallel to your body in this position. Its edges or grooves, the top of the joint is fused. Number 1 is the plate position in 1G and 1F, while letter G is the groove weld and letter F is the fillet weld.
In other words, 1G is the flat position groove and 1F is the flat position fillet. The fillet weld normally fills the delta between two materials. Irrespective of the angle, the 1F position still sits parallel to the worktable or the floor. 1G, on the other hand, is when you weld two pieces at an angle.
The soldering filler remains molten and spreads evenly along the joint. As a result, it is common for welders to operate hotter at faster deposition rates in the flat position. At this position, the puddle is not overly fluid, and gravity helps to remove it off the joint.
Horizontal welding position – 2G & 2F
The horizontal position is a little trickier than the flat position. Horizontal positions, like vertical and overhead, can be more challenging to achieve. These positions also demand more skill. While welding, the workpiece is held parallel to your body in this position. A welder should practice and perfect it because it requires more skills to execute it.
2G, or groove weld, is performed by positioning the weld axis in a horizontal plane.. You can also position the weld axis almost horizontally. The joint’s front should be in a roughly vertical plane.
2F is a fillet weld position. In this position, the soldering takes place on the upper side of an almost horizontal surface. It usually lays against an approximately vertical surface. The torch is usually controlled at a 45° angle in this position.
Butt welding is a little more challenging than flat welding at the 2F position. It occurs because of the molten metal flowing downhill through the joint. Gravity is the main cause of this challenge. The torch heat also rises upward through the joint. As a result, it is impossible to apply a consistent deposit to joints.
The fabricators need to connect the metals and weld them on each end to provide a better welding outcome. Please ensure that the flash movements should be moderately moving up and down. The purpose is to allow equal heat to distribute on both ends of the joint. It means that the molten steel does not flow from the bottom of the joint and strengthens the weld metal faster. A welder needs a lot of expertise for a master at 2f or in any horizontal position. 2f is one of the fillet test’s horizontal locations.
There is a different location or position of a horizontal fixed welding weld. The pipe axis is almost parallel to the ground in this case. It is worth noting that during soldering, the tube that you want to weld should not move or spin.
Place the tube in flat position in a different horizontal position and weld when needed. The solder must, first of all, align the joints to weld them. The welders can use a bridge torch built of steel to hold tubes.
The other common position to weld is 2G. 2G indicates that the groove is horizontally welded, not with filet welds. The soldering axis is horizontal in that position. Here, the weld is oriented toward the vertical plane.
3G & 3F Welding Positions Vertical
When conducting vertical position, place both the weld and the plate vertically. That is where the word vertical position welding comes from. The disadvantage with the vertical position is that the molten metal flows down. This can accumulate and cause problems because of gravity. It can result in non-uniform soldering. It explains the accumulated molten metal that piles up at the base.
To prevent this from happening, the welder can weld in an uphill or downhill direction. In other words, you need to create good fusion and avoid the situation of molten metal runoff. How do you do this? The flame is placed upwards in the upward vertical position and held at a 45° angle to the plate. Tovertical position, you also employ the bottom metal of the workpiece.
Overhead Welding Positions – 4F & 4G
For welding operations, the overhead position is the toughest position. Two pieces of metal are suitable for welding at the overhead of the welder. The welder and the equipment have to be angled to achieve joints. One of the most common challenges with this position is the issue of the metal loosening off the plate.
The main challenge with bending metal is that it can form crowns. The molten metal puddles should be small to avoid this problem. When the weld puddle becomes too large, remove the flame for a while to cool the molten metal. Sufficient puddles and reinforcement should be maintained. It is to avoid the fall of the metal. The flame must burn both edges of the joint and the molten metal will also remain supported.
The welding positions are basically the welder position in relation to the workpiece. The position the welder is working or standing determines the welding position. So the main thing to consider is the direction the soldiers will flow as a result of gravity.
4G position – this position is used for butt welds in the overhead position. Here, welders must hold the torch from below the metal part. It is probably the hardest and challenging position. Before welding, welders need to specify the correct settings.
4F position – this is a fillet weld overhead position. In most cases, the welder holds the torch underneath the metal part at an angle of 45°. However, it depends on the position of the pipe or platform.
Ensure that the sparkles fall down when welding in the overhead position. This is among the most crucial considerations when soldering in the overhead position. Wear a bandana under your welding headgear for additional protection on the top of your head. Use a 100% leather welding jacket if you’re doing stick welding. A, that generates numerous sparks and splatter.
The same procedures utilized for vertical welding are frequently applied for overhead welding.
5G Welding Positions
The 5G position is where the welder performs the welding while moving it around the pipe. It is very similar to the 1G position. The only difference is that the tube does not rotate or spin in the 5G position. The 5G welding position is performed vertically, up or down.
5G vertical position: The 5g vertical upward position is best for pipe butt welds. It is a common manual way of welding tubes. In this position, welders usually follow three routes in welding. From the top to the horizontal and finally to the flat position. This position is difficult since the pipe is not rotated or turned in the 5G position, unlike in the 1G position.
5G uphill vertical position – the 5G uphill vertical position applies for pipe butting. It is a routine approach to weld the pipe. The welder should follow three sequential steps when welding in this position. You have to start with the overhead position. Then followed by the horizontal, and finally the flat position. What makes the 5G position more challenging than the 1G position is the pipe is not rotated or turned.
5G downhill position – it is a 5G vertical downward position utilized for pipe butt soldering. This position is most suitable for manual welds. Welders should use the right and specific welding equipment. The right equipment is that which can withstand the force of gravity. The equipment should drag the molten metal downwards. It increases the productivity of soldering and provides the appropriate outcomes for welding. In this position, the welding process follows three sequential steps. You have to start from the flat position, then the horizontal. End with the overhead position.
6G Welding Positions
6G is one of the most challenging welding positions for welders to master. It is important to note that you will need to master this position if you are looking for a welding certificate. In fact, the 6G welding position is a requirement for certification. This position is identical to the 5G position in several ways. The only point of departure is that the pipe in this position is at a 45° angle to the other.
The 6G welding position is sometimes referred to as the overhead weld position. Some call it the welder accreditation assessment position. One pipe must be at a 45° angle to the other in this arrangement. As a result, it has become the most demanding and strenuous position for welders. Furthermore, welders must assume a variety of body postures when welding.
There are three types of welds in 6G position welding. The first one is the horizontal position which is the most challenging position. The second one is the flat position. The flat position is relatively simple compared to the horizontal position. Finally, the vertical position (the most challenging for welders). The main root of this problem is the downward flow of molten metal during welding. It is also more difficult for welders to weld at a vertical orientation. Welding in this position may involve overhead welding. As a result, a welder must practice a lot in a 6G position before proceeding with the actual weld. A welder is unlikely to encounter a 6G position while working on usual projects. But it is a frequent pre-employment assessment for welders. So you need to understand and practice in this position if you need accreditation as a welder.
It helps to know where the 6G position is applicable. The 6G position is used in the design, and installation of piping in chemical industries. It is also used in oil/gas infrastructures. You could also find it in other enterprise that uses piping and pipes.
6GR Evaluation
It is a different type of 6G test. The letter R is an abbreviation for ‘restricted.’ It signifies that the fusion is done in a “ring mode” by inserting a metal plate with an inch gap below the weld location. It is essentially another level of difficulty for welders in the certification procedure. Welders in 6GR must build joints near obstructions. Places like brackets and attaching pipes to another structure provide the best applications.
Whatever weld position you use, it is a good idea to conduct a few practice passes before executing the weld. This will ensure that you can finish the whole length of the weld in a comfortable posture. Inaccurate welds might arise from not being in a comfortable position.
Note that the filler metal you select determines the welding position you will go with. It also determines the manner of transmission. If you need to weld overhead or out of position, be sure your filler material can handle it. This should be before dialing in your weld parameters to maximize out-of-position welding.
Many jobs may need certification in various welding positions. One clear thing is that you need certification in each of the welding positions. If you want to start a welding career, learn all these positions.
Other welding position tips
Welding out-of-position is challenging and slow. According to experts, you have to dial things back to keep the puddle from leaking. When welding out of position, you also have to manage the puddle more. But this takes more time and reduces travel speeds. You can also weld upside down. You only have to go slowly and carefully since the weld material tends to work with gravity and fall on you.
How to get a perfect weld
Did you know that a welder can move an object to suit the suitable position? Horizontal and flat position are appropriate when welding lightweight and small objects? Things get much better when you use robots in welding. Robotic welding can make welding much easier and accurate. You can program some welding positions so that robots can rotate the objects you are welding. You can boost welding speed. You do this adjusting the weld. You can also achieve the same if you synchronize motion with a positioner and the robot. This actually increases profit and productivity.
Conclusion
Welding expertise can come in handy. Whether you are a student, a professional or an educator, a welding experience is critical. If you need a welding certification, you need to know various welding positions. They play a crucial role since you can be tested in any position from 1G all the way to 6G. 1G is the simplest welding position and 6G is the most difficult of the welding positions. Thus, professional welders must join metals in any position. It is critical if they have the proper welding knowledge and experience. Welding is a broad area. That is why you need a lot of expertise when fusing metals.
There are many challenges with the various welding positions. That is why we have kept this article simple. This should make it easy for you. Work your way through the many positions to gain knowledge of the procedure when welding. It will allow you to do more complicated welding orientations adequately. For example, it is better to start with a flat position. You can then go for the horizontal, vertical, 5G, and 6G in that order.
