Are you wondering how to install metal wall panels for the look of luxury everyone wants? To get that modern design with a neat finish, you must install metal cladding the right way. Otherwise, you might end up with an eyesore on your hands.
Before you begin putting up metal panels, do some research. Get up to date with installation codes for metal roof and wall cladding.
After verifying your structure is metal sheet ready, begin the installation process.
Our article details the simple how-tos of installing metal panels for walls.
Table of Contents
Inspect The Subsurface
The first step of metal sheet cladding installation is inspecting the subsurface. Installers cannot lay metal cladding on uneven walls. Why?
Because the metal panels will adopt the shape of whatever is under them.
Feel for bumps, dips, or nails sticking out in the subsurface. There are two ways to inspect for inconsistencies.
- Using a level
- Smoothing your hands over the surface
If your walls are uneven, you need to secure furring strips on the subsurface. The direction of the furring strips depends on the direction you want your metal panels. So does how far apart they should be from each other.
For a horizontal installation, furring strips must be vertical. They must also be at least 12 inches apart.
For a vertical installation, furring strips must be horizontal. They must also be about 16 inches apart.
Installing panels in a horizontal or vertical direction follows almost the same process. There are a few minor variations. The placement of furring strips is a prime example of one of the differences between the two.
Cover the furring strips with sheathing. Plywood is a suitable option. But other kinds of sheathing work as well.
The job of the sheathing is evening out the work area more. Nail the sheathing material to the strips to cover the whole surface. Be sure to pay attention to dimensions. Cut the sheathing material to size.
If the surface is even, there is no need to add any furring strips or sheathing. All you need to do is mount your metal panels.
How To Install Exterior Wall And Interior Wall Panels With Metal Cladding
Metal cladding is suitable for use in every part of your home. They are ideal for covering ceilings. They also make beautiful accents. Or, you can go big with metal sheet cladding all around your house.
Installing metal cladding on your exterior and interior walls is easy.
They follow almost the same process. That’s why I’m lumping the two together.
The way to install is the same as the process described in the next segment.
What matters is the orientation or direction that you want the metal panels. Remember that installation variations may apply.
Here is an example.
With interior installations, you do not need to add a subsurface. You may choose to secure the metal sheets to wall studs. Note that if you already have a subsurface, there is no need to remove it.
For mounting panels on external walls, you must have a subsurface.
How To Install Metal Cladding For Walls
Metal cladding is suitable for new constructions as well as retrofitting existing buildings. You can use them on the outside walls and inside walls of your home. They fit the design of any structure.
You do not only have options with color and the finished look. You can also decide on the direction you want to lay the metal sheets.
What matters is the installation method to achieve the look you want.
You have the choice of using two directions to install metal cladding for walls.
- Horizontal
- Vertical
Installing metal siding in any of these directions is easy. But for the best results, follow best practices. You must also pay attention to recommendations from your metal panel manufacturer.
There are also architectural-type metal wall panels. These are more common in commercial buildings, so we will not address them here.
Framing Members
The orientation of the framing members depends on the direction you plan to lay your panels. A vertical panel installation needs horizontal framing members. And a horizontal installation uses vertical framing members.
Let’s discuss all these installation options.
How to Install Vertical Metal Siding and Horizontal Metal Siding
A horizontal metal siding gives your house or structure a more traditional look.
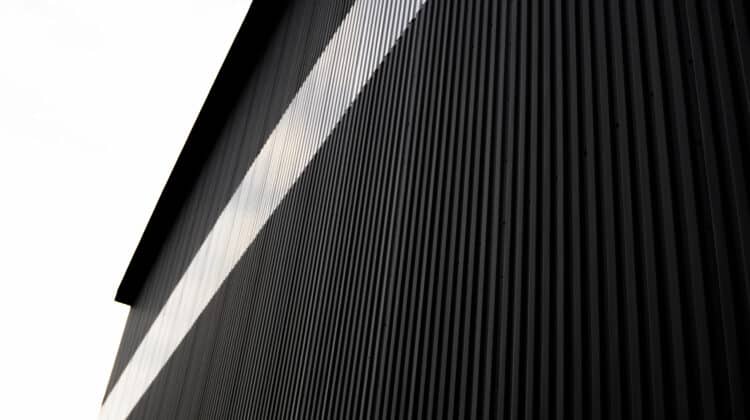
Vertical metal sheet installation gives homes a sleek, modern finish.
But to get the results you want, you need the right tools. You also need to follow proper installation methods. Stick to recommendations made by the manufacturer of your panels.
Remember, whichever option you choose, the installation method is the same process. Keep your eye out for those variations.
To install metal wall panels:
- Measure the length of each wall.
- Mark the place for your screws
- Draw a line
- Attach your panels to the member frames of your structure.
- For an even finish, lay the same number of panels on opposite walls.
- Add utility channels and nail furring
You need to know how many metal sheets it will take to complete each wall. Panels have different sizes. You may have to cut or make use of partial panels.
Before you begin putting up the metal panels, mark the place for your screws on the subsurface. It is best to use a carpenter’s pencil.
Draw a straight line where you plan to hang your first metal panel. To make accurate measurements, consider the dimensions of the metal sheets. These numbers may vary with manufacturers and metal types. Resize the metal cladding to suit your needs.
This only applies if you intend to use partial panels.
The best position for partial panels is next to the corner posts. Utility channels and furring strips help you to lock them in place.
To install metal panels in a horizontal direction, start from the base of your building.
To install metal panels in a vertical direction, move from one side of the structure to another.
- Keep going until you cover the entire wall.
- Do not drill the screws too deep. You do not want to dent the panels.
You should use the type of bolts, nails, and screws suggested by your metal sheet manufacturer.
There is more to do. You still need to take care of the corners at the edge of your structure where metal sheets join.
Installing Corner Trim
The ends of metal panel walls meet and form joints. The overlaps fit over these joints to close them up.
Remember, you must always take measurements. So the first thing you need to do is find out the dimensions of the corner where you want to add the trim.
How To Installing Overlaps
The process for installing overlaps vary depending on the type of metal siding you use. We cannot deal with each of them here. But all overlaps serve the same purpose. But clear the siding of dust and debris before putting it on.
Some overlaps come with custom holes for screws or nails already cut out. For others, you must do it yourself.
If you must do it yourself, drill the holes for fastening the overlap 12 or 16 inches apart. The difference depends on the orientation of your panels.
The first hole should not be more than three inches away from the ground.
Some installers suggest using one panel as a hole template. Drill the holes and then line up all the other panels to drill through.
But the difference between holes is more an approximation. Sometimes the exact location for a hole might be a bit off.
What Can I Use For Metal Wall Cladding Underlay?
Metal-sided structures need a water-resistant barrier to prevent corrosion. You must apply underlayment to the subsurface of your external walls. There are different types of underlayment. But they must suit the metal panels you have.
The different types of underlayment are:
- Felt underlayment (Asphalt-saturate)
- Rubberized asphalt
- butyl-based sheets
- Underlayment that is a synthetic sheet
Use a self-adhering, polyetheylene facer membrane underlayment.
When doing interior metal sheet mounting, you do not need any underlayment. This is another example of how external installations differ from external installations.
About J-Channels And Sill Trim
The J-channel and sill trim comes into play after your underlayment is in place.
The J-channel acts as corner post overlaps but for the edges at the base and top of your structure. The sill trim fits around the edges of windows and doors.
- The J-channel and sill trim gives your finished metal panel walls a neat look.
- They hold and hide the base ends of the cladding.
- They might come with custom holes for drilling screws. If they do not have those holes, then you have to drill your own.
How To Install J-channel and Sill Trim
- Measure these items and cut them to fit over the edges of your finished area.
- When installing, leave a quarter-inch space between the ends of the j-channel and the overlap.
- Drill screws through the holes to secure the j-channel in place.
Windows and doors that have receivers built-in do not need the sill trim.
These are your underlayment options for metal cladding for walls.
Conclusion
The installation process for metal panel walls is easy. For the best results, stick to those methods. Pay attention to recommendations from the manufacturer of your panels.
Metal panels are affordable, but fixing those mistakes is an extra expense. Follow the recommendations of the manufacturer when installing metal sheets. You will avoid those costly mistakes.


