Would you like to know the complete process on how to install rubber roofing?
The option of rubber roofing comes up whenever a particular roof angle has four in twelve pitch or less. This measurement allows you limited installation choices, and the most preferable and popular one is rubber roofing.
Table of Contents
What Is Rubber Roofing?
If you are a homeowner looking for reliable roofing material, something that is flat and a more durable substitute to asphalt shingles. Something that can serve as a protective layering over your current roof, then rubber is the solution to your problem.
Rubber roofing is composed of a mixture of sawdust, recycled tires, and slate dust. It usually refers to three compounds of membranous, single-ply materials utilized for low-sloped roofs.
- EPDM
- TPO
- PVC
Each type has distinguishable benefits, impediments, and costs.
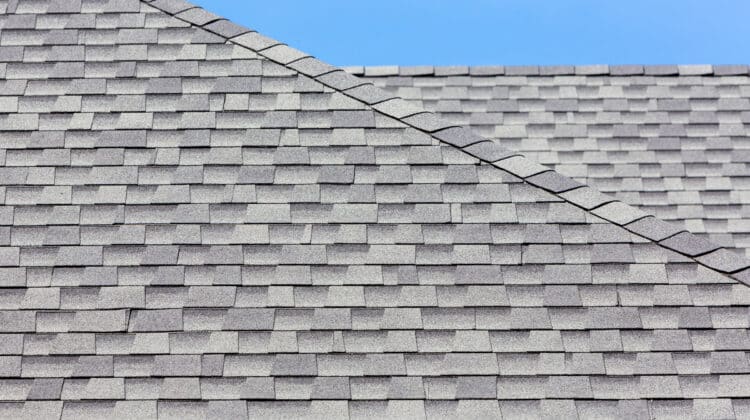
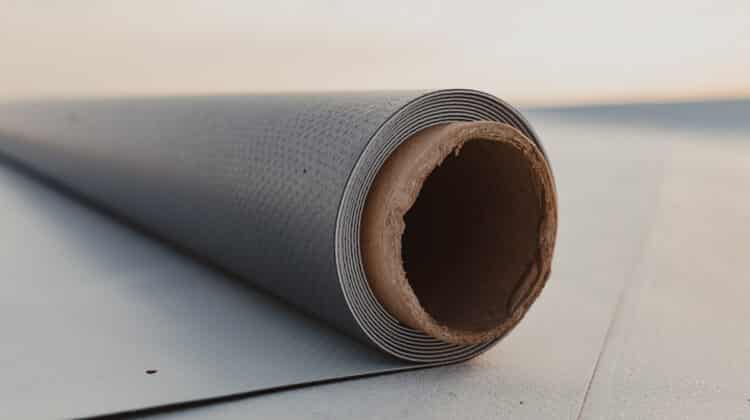
Rubber roofing is available in rolls that are installed in long and overlapping sheets. It is also available in shingles that will have an outward aspect similar to slate tiles.
It is mostly utilized in flat roofs to create a low-cost, lightweight, and appealing roofing alternative.
What Is The Cost Of Rubber Roofing?
The cost of single-ply rubber roofing ranges from one to twelve US dollars per square foot.
The overall cost will depend on the particular material, how thick it is, the type of adherent likes glues (more costly), or mechanical fasteners like screws (cheaper). Or with ballasts, which are layers of stone yet more affordable.
Also, the cost might increase if you have to rip off materials and include insulation or decking at the time of replacing the roof.
Adding chimneys, skylights, and HVAC units will increase the expense since it introduces more roofing complications.
Different Types Of Rubber Roofing?
EPDM
- Is the acronym for Ethylene Propylene Diene Terpolymer
- Single-ply
- Fire-resistant and can endure hail
- Easy to install
- It has a black color that absorbs heat
- Affordable, the price ranges from one to four US dollars per square foot
- It has a lifespan of more than thirty years
- It can potentially shrink and can allow water to seep through
- The color black might not look aesthetically attractive
TPO
- Acronym for Thermoplastic Polyolefin
- Comparatively new roofing material
- Has color alternatives
- Affordable, whose price ranges from two to five US dollars per square foot
- Energy efficient
- Adheres using heat-welded seams that are low-maintenance and last longer
- Setting it up takes a long time and requires experience
- Its lifespan and track record is yet to be determined
PVC
- Polyvinyl Chloride
- It is durable and can resist harsh weather conditions
- It has a lifespan of more than thirty years
- Recyclable
- Waterproof
- It has color alternatives
- More expensive, its price ranges from six to twelve US dollars per square foot
- It has environmental and health concerns
Rubber Shingles
- It costs 4.33 to 7.22 US dollars per square foot
- It can look similar to other in-demand roofing materials like wood shake or stone slate
- Recyclable
- Wind, fire, and impact resistant
- It has a lingering odor after installation but goes away after a while
How To Install Rubber Roofing
Aside from being durable and low maintenance, rubber roofing (either shingles or rolls) is quicker and easier to install and repair compared to slate or asphalt shingles.
Here is the proper procedure in how to install rubber roofing:
1. Preparing the roof surface
Before installing the rubber roofing, you have to begin with a clean surface. You need to remove the dirt, debris, and other materials found on top of the roof.
It also has to be entirely dry and stripped of all the asphalt layers. Commercial roofs may have complications like drainage issues, so a professional roofer is the best one to install the rubber roofing for you.
2. Measuring and marking
After cleaning and stripping down the roof, the next step is to measure and mark the area for any chimneys, antennas, or vents. Use a pencil or chalk to make it clear.
Your roof needs enough rubber roofing to cover it entirely, including an overhang for the roof edge and adjacent walls.
In this step, you will also have to set up the drip back trim and drip batten at the edge of the roof to channel rainwater towards the gutter.
3. Preparing the rubber sheet or shingles
Rubber rolls are installed differently from rubber shingles and take longer and are more comprehensive.
Rubber shingles follow a simpler installation process similar to asphalt shingles, wherein they are nailed on the roof in rows.
Also, rubber shingles can be used along with rubber rolls to improve appearance.
4. Applying the rubber rolls
Since rubber sheet application is more laborious, it is advisable to work on a half sheet at a time.
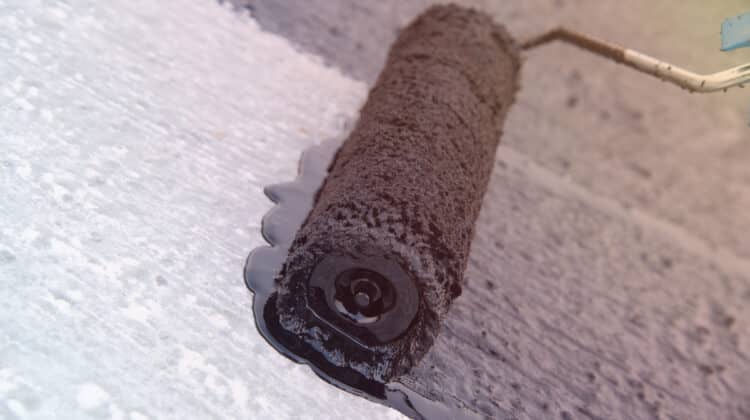
Use a paint roller to apply the adhesive onto the roof.
While the adhesive is still wet and after making the necessary adjustments to the sheets, unroll it flatly on the surface. Let the rubber rest for thirty minutes.
5. Brushing
Brush the surface with a large broom to remove any air bubbles and to make the bond stronger.
6. Finishing touches
- Seal the roof corners with pressure-sensitive flashing
- Take out any excessive rubber sheets
- Make water-tight seals for any equipment situated on the roof
- Fasten the drip edge, gutter, and wall trim with screws
- Seal all trims with silicone sealant
If you did the installation process correctly, the rubber roofing will remain effective and protect you from harsh weather conditions for more than twenty years.
How To Maintain Your Rubber Roofing?
The biggest benefit of rubber roofing is that it requires less care and maintenance compared to slate or asphalt roofs.
If it develops cracks or leaks, you do not need to call a professional roofer to repair it, and you can do it yourself.
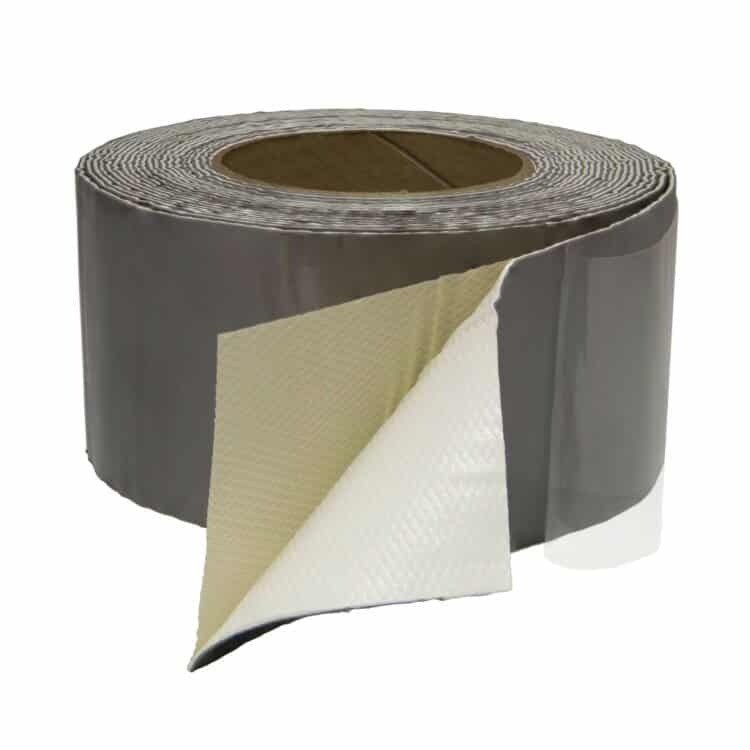
You can patch it up by applying a fresh coat of liquid rubber, sealant, or latex tape.
You can also patch up the leak by installing rubber shingles over it.
Do remember that rubber will expand and contract with varying temperatures. It cannot be installed or worked upon at a forty-degree temperature or less.
Conclusion
If you cannot find a suitable material for your low-pitched roof, rubber roofing might be the answer to your problem.
It is not only durable but is also affordable and easy to set up on your roof.
With the proper knowledge of how to install rubber roofing, you can set it up quite easily in due course, which will protect your home for a long time.
