Are you interested to learn about how to install TPO roofing?
TPO or Thermoplastic Polyolefin is a type of single-ply underlayment, which are essential components of commercial, industrial, and sometimes residential roofing systems.
It one of two alternatives and the other is EPDM or Ethylene Propylene Diene Monomer.
TPO is the more popular option, and serves as a protective covering against sunlight, water, wind, and other debris. So it is crucial for building contractors select the right roofing underlayment for your home.
Table of Contents
What are the steps to install TPO membrane on your roof?
Installing it on your roof takes a keen eye and proper know-how, so here are the steps in installing TPO roofing:
The tools and materials you need to install TPO roofing
- TPO rolls
- Insulation foam
- Fasteners
- Plates
- Liquid adhesive
- Stirring stick
- Extendable rollers
- Handheld foam cutting knife
- Reciprocating saw
- Electric drill
- Automatic heat welder
Preparing the roof before you install TPO roofing
Before applying the TPO membrane on your roof, make sure you have all materials and tools available with you. This way, the installation process is quicker and more effective.
First, you will have to ensure that the roof surface is clean of any moisture and debris. Excess trapped water beneath the TPO will result in mold and possible problems in the future.
OSHA or Occupational Safety and Health Administration has safety precautions concerning roof installation, so make sure you follow them.
Installing the insulation foam prior to setting up the TPO roofing
After making sure the roof is clean, you will need to install the insulation foam.
The best practice is laying down the foam is staggering them in both directions. For instance, when putting down two foam layers, stagger them by cutting the first in half then putting the uncut piece next to it.
For the second foam layer, you can stagger them by placing a half foam piece atop a whole piece and vice versa. Staggering the pieces adds extra strength, provides better insulation and has a smoother surface.
Place the screws and insulation plates along the edges and the middle of the foam for drilling.
Screw down the fasteners to secure the foam to the roofing floor.
Cut the pipes and vents within the proximity of the TPO roofing
This step will depend on whether you are restoring or working on a new roof. If your home is brand new and does not have any vents or pipes yet, you will have to cut the foams spots of these projections.
You can also include a specialty foam for creating an incline on the roof. This type of foam is inclined by design for controlling water flow to the drain.
Some roofers prefer to install the specialty foam beneath the straight foam pieces, but some choose to put them on top.
Installing the TPO roofing
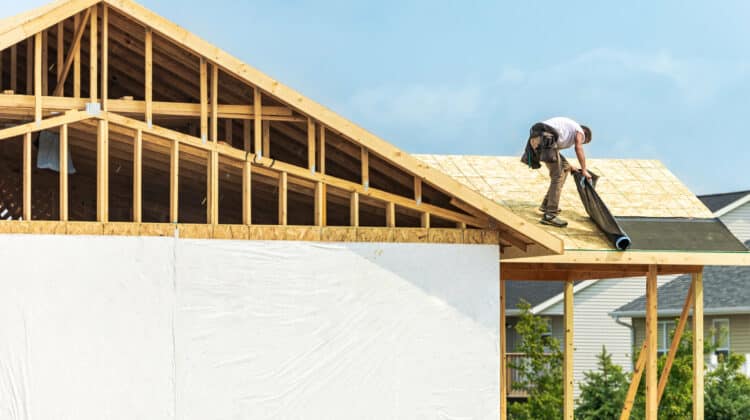
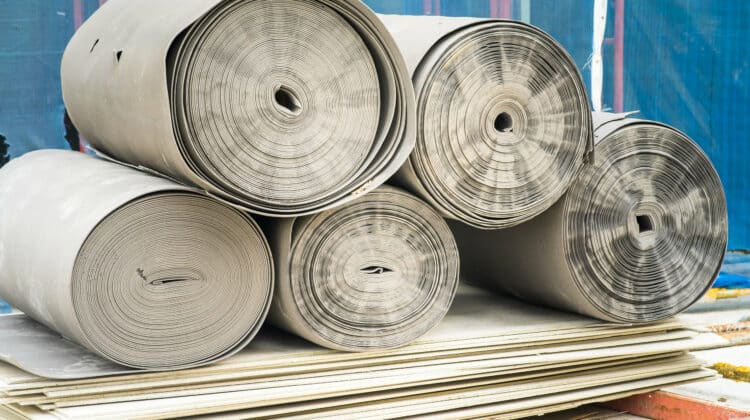
TPO rolls are heavy for one person to carry, so make sure there is more than one to carry them on the roof. You also have to lay them straight before unrolling them.
Set up one roll at the edge next to the wall. If it has borders, leave a one-inch gap between the TPO and the wall since it has a covering later.
But if your home does not have border walls, you will have to lay the TPO rolls over the roof’s edge and cut it flush another time.
As you roll out the TPO, make constant adjustments to make it straight. Continue rolling until you run out of TPO or reach the edge.
Check for any wrinkles, and if you find one, pull either end of the rolls to remove them.
Securing the TPO roofing
After all the TPO rolls are straight and unwrinkled, you will need to secure them down on the insulation foam and surface of the roof. Securing them necessitates fastening the spiked TPO plates and fasteners with the correct length on the surface. In doing this, place the plates along the sides of the TPO.
And make sure not to put them on the bottom edge because they will go over the top of the next row. Securely tighten the TPO and plates down with a drill. Make sure not to make them tight too much because it will result in divets on the insulation foam and cause issues in the future.
After securing the first row with plates and screws, add the second row doing the same steps. Make sure the second row of TPO has a three-inch overlap past the plates on top of the first row. It will enable them to cover and allow the seams to be welded later.
The plates secured on the sides of the TPO rolls also have to be covered by the rolls along the walls. If there is no wall present, do not add plates to the edges of the TPO.
After two TPO rolls are securely fastened, you can begin heat welding.
Heat welding the seams in the TPO roofing
You will need an automatic heat welder in this step since all the seams must be welded and sealed close. If the seams are correctly welded, there will be holes and leaks on the roof.
Experts recommend practicing first on a small piece of TPO before doing the actual heat welding task on the roof. This way, you can avoid making mistakes and have dire consequences.
The heat welding is directed to the long seams, wherein two TPO rows are overlapping with each other and cover the metal plates. There should be a few inches past the plates for the automatic heat welder to work its magic.
Be sure you have a long extension cord so you can run the whole span of the seam before you begin to weld, and once you begin, do not stop until to reach the end of the row.
Before beginning, warm up first the heat welder and adjust the guidance wheel with the TPO edge. Then position the heating element beneath the edge and switch on the rolling switch.
This action will move the automatic heat welder forward and make sure it will stay in line with the TPO edge.
A solid sealed weld on the TPO will achieve two things: heat and pressure. Of which are provided by an automatic heat welder.
Applying the TPO roofing on the walls
If you do not have walls on the edge of your roof, you can cut along the roof edges and weld them down to the TPO.
If you have, then roll put the TPO along the walls and cut into portions to keep it straight. Make sure it can cover the whole wall and extend past the bottom, with about four inches to tuck in.
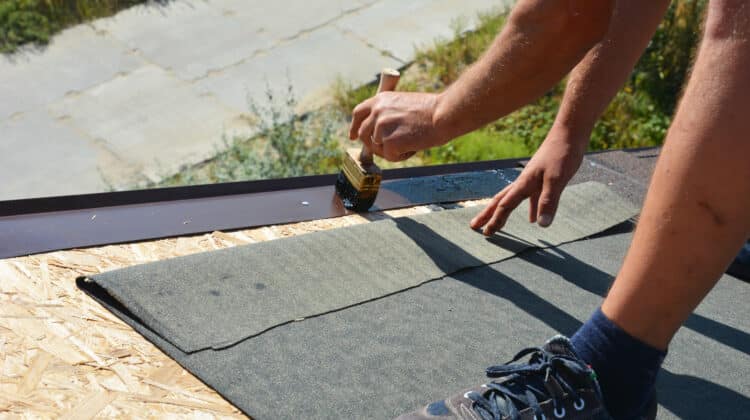
Then tack the TPO bottom wall to the top of the floor by welding a small spot on the bottom close to the wall corner. Tacking enables the TPO wall in place but you still need to apply liquid adhesive, which has to be applied on top and the sides of the wall.
After the adhesive is dry and stuck to the wall, go back to the bottom of the wall and heat weld it.
Hand welding the joints in the TPO roofing
Joints refer to where all the TPO corners will meet, which have to be welded and patched up. You can cut a piece of TPO to the right shape and heat weld it on.
You must round the corners or other sharp edges on the TPO to allow the best seal.
To hand weld a patch, apply heat and pressure. Of which comes for the hand welder and hand roller respectively.
If there are drains, skylights, pipes, or other openings on the roof, you need to hand weld to cover around them to make sure no water will leak in.
Check again if all the seams are securely sealed, then you can install the wall metal, which makes the roof look great and enable the TPO to be secure on the wall.
Once done, your roof is now more durable. If some holes will appear, you can patch them up by hand welding.
Is it easy to learn know how to install TPO roofing?
It is, and installing TPO underlayment on your roof is not as difficult as you think. And with the proper tools and knowledge, you can install it quickly and easily.


