Generators are usually installed and made to be turned on without much stress. Especially if you’re in an area prone to blackouts, starting up the generator would be routine for you. But maybe you haven’t had a blackout in a while, your generator’s been unused for a long time now, and you suddenly need it once again. It’s urgent to quickstart it now.
We will show you step-by-step how to quick start your generator in times of emergency. Bookmark this page so you can find it again in a snap.
Table of Contents
Pre-Quickstart
Check the Instruction Manual – We hope you haven’t thrown out your generator’s manual. As hard to read as they can be, they should include your generator model’s unique features. Although we have the general steps for a quickstart, your specific generator may need some extra precautions. Check carefully to see if there are any.
Inspect for Leaks or Damage – You can’t turn on a generator if it is showing signs of gas leaks or further damage. That can be very dangerous to you and your entire home. Watch out for tears, holes, and disruptions in the area surrounding your generator.
Bring the Generator Outside – Your portable generator should at least be 15 feet outside and away from the house. A generator should never be activated indoors, whether in a house, shed, barn, or garage. The carbon monoxide exhaust of a generator is enough to kill anyone inside the same building. The exhaust has to ventilate outdoors safely. The very most covering you can give it is a generator tent.
Check the Environment – Even though blackouts are likely to happen during storms, generators should not be left exposed to the elements while running. It can cause electric shocks if running while surrounded by rain and water. If you absolutely need it on during a storm, protect your generator with a tent.
Stock Up on Fresh Fuel and Oil – Since portable generators run on gas, make sure you have enough fuel. Generators should only use fresh gasoline when being used during emergencies. If gas is left in the tank over time, the ethanol absorbs water. Running the generator on stale fuel will lead to engine damage. Aside from fuel, you may need extra oil to lubricate the generator engine. The oil tank will have a prescribed amount indicated by a line.
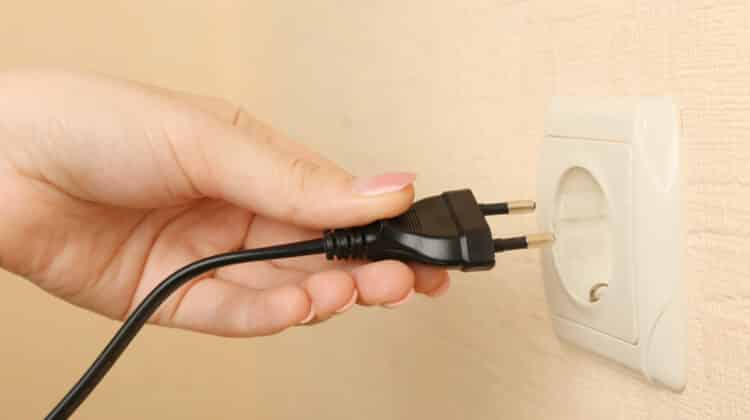
Disconnect all Plugged In Cords – Remove any cords that may have been previously connected to the generator. Connecting the generator should only come after its start-up.
Quickstart
Turn On the Fuel Valve – First, switch on the fuel valve. The fuel that gets released flows to the carburetor. The generator needs fuel before anything else.
Turn On the Choke – At first, the choke rod should be on the right. Move it left for a faster start-up.
Turn On the Engine – Generator engines are usually turned on with just a flip of the switch, followed by using the recoil cord. However, some generators come with a start button and don’t need a recoil cord. Electric switches need a battery to work with, so make sure your battery is charged if this is the case. If electric, skip over the next step.
Pull the Recoil Cord – This is the final step to starting the engine itself. Recoil cords can be a bit stiff, so you may have to pull it several times before the engine gets running. If you still have difficulty, switch the choke to “half” first before removing the cord.
Switch Choke to “Run” – If the engine can run smoothly for some minutes, it will be safe to turn the choke back into “run.”
Connecting Your Home Appliances
Only after you are sure your generator is running smoothly should you plug anything into it. To be safe, be sure to turn on the circuit breakers as well. Give the generator and the breakers about 5 minutes to run, then proceed to connect your appliances. You have several options for this:
Extension Cords – The thing to remember about extension cords is their gauge. Cords with high numbers for their gauge or best matched to smaller and lighter appliances. These will be around 16-gauge or so for small lights and lamps. Just watch out for any fire hazards that high gauge extension cords are known for.
Cords with lower gauge numbers are best for larger and heavier appliances. Something as large as a refrigerator will need a 10-gauge extension cord. Less demanding yet still heavy-duty appliances can use a 12-gauge cord.
Convenience Cords – Convenience cords are like extension cords but with several outlets in one. A single convenience cord can do that job of several extension cords at once. Just plug it into the generator and find a convenient place to put it where your appliances can be connected.
Through-the-Wall Kits – As the name suggests, these kits save you the inconvenience of open windows and garage doors. You just need to drill into the wall to make a hole for the kit. The kit works as an inlet box to connect your generator outside with the appliances inside via a power panel.
Transfer Switch and Generator Cord – The last option is a generator cord and transfer switch. It may not seem like the likely option because of its cost and installation hassle. However, it’s an excellent investment, in our opinion. Once everything is set up, connecting your home to the generator couldn’t be easier.
Transfer switches don’t just transfer power to one appliance at a time; it allows your generator to connect to your house’s entire circuit panel. Through a transfer switch, the generator can power air conditioning, light systems, heating systems, and even Wi-Fi.
But keep in mind that transfer switches have to be matched to the correct generator cord, also known as a power cord. These are classified by amperage, ranging from 20 amperes to 50. Check the outlet on your generator that has the highest amperage. Your generator cord should match that number.
The generator cord will have a male and female end. The male end, which simply looks like a plug with the metal blades, will be plugged into the generator. The female end, which has holes in it, will be fitted to the inlet box in your house’s circuit panel.
On an important note: do not plug your generator directly into an outlet inside the house. It will cause the generator to backfeed and cause a dangerous surge of electricity, especially if people are already working to restore the main electrical lines.
Refueling the Generator – Ensure the generator is totally disconnected from every appliance and power source before refueling. Wait a few moments for it to cool down. Only once it’s stable and cool should you add fuel to the tank.
Switch to Standby Generators
We’ve walked you through turning on a portable generator in times of emergency. It’s quite a long process, but given enough practice, it will become routine.
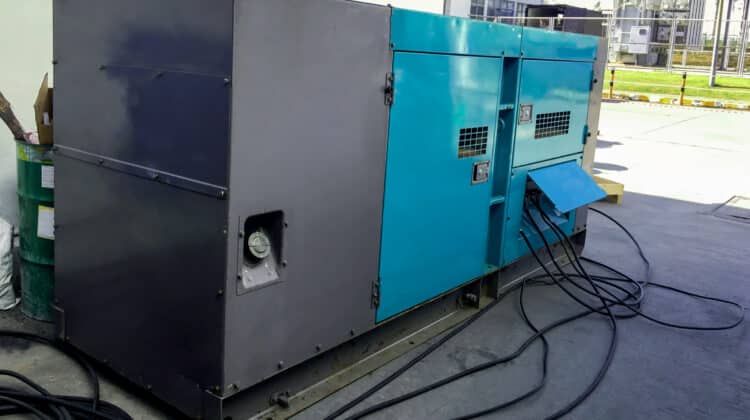
However, some generators will make your life much more comfortable, such as the standby generator. Standby generators do not require all these steps to turn on. If appropriately installed upon purchase, you will only have to flip a switch to supply power to your systems and appliances. If your area is especially prone to blackouts, consider investing in a standby generator to make your life more comfortable in the long run.


