PVC welding is the most preferred technique in joining plastic pieces together since it is strong, flexible, and due to its extreme weather resistance features. The PVC is mostly used to weld rescue boats, inflatable membranes, pontoons, and flexible storage tanks. When applied right, it completely obstructs any leakage of all liquids and gases. However, it is determined by the quality of the welds.
Generally, all thermoplastics have exceptional weldability features, thus making PVC the right choice for a tight and safe weld. When welding your pipes, you are required to apply adequate heat enough to melt the PVC coating, after which you should put on pressure and cooling to form the weld right.
The quality of welding techniques is calculated depending on how different the heat is generated and applied. So whether you want to join two plastic pipes together, or you need to repair a crack on a pope, welding is what you need to do. You will need to have a good welding gun, a welding rod for a successful joining or repair.
So how do you go about the welding process? Read below for a step-by-step guide to obtain a quality weld and ensure that your welding will do the job required and for the long run.
Table of Contents
How to weld a PVC pipe together
When it comes to PVC welding, it is a little different from the normal welding techniques. Below are simple steps that you need to follow while doing your PVC welding to obtain a nice quality weld.
- Choose a ventilated working area to keep dust and fumes at bay
- Wear long-sleeved clothes and heat-resistant gloves to keep yourself safe
- Remove any present debris from the pipes by washing them with soap and warm water
- Use the right welding rod
- Use a rod testing kid if you doubt the type of plastic
- Use 80 grit sandpaper to clean and present paint
- Tape the pipes together to keep the joints in place
It would be best if you took some safety precautions when welding. You can choose to work outside or under an air circulation system. Always open the doors and windows or use fans to air out your working area if you work indoors.
Plastics are known to release polycarbonate gases while welding. For this reason, you must wear a dust mask as a safety precaution. Also, ensure to work away from people unless they adhere to the precautions.
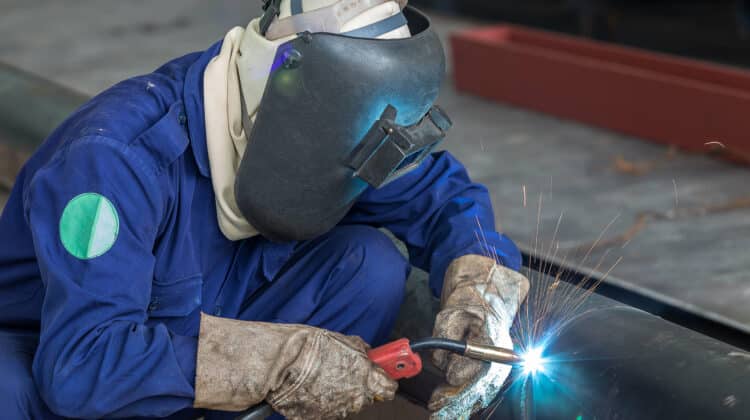
A good quality pair of gloves is essential to keep yourself from getting burnt. Gloves made from a material like leather can be a good choice. In addition, a long-sleeved coverall can be great in protecting your legs and arms.
To protect your feet, wear a pair of closed working boots and keep you4r face safe by using a clear welding visor. However, a full welding mask is unnecessary as the light from the plastic welding does not produce risky light.
To clean the present debris, you can scrub the pipes with a good quality sponge and warm soapy water. Welding your pipe without cleaning off the debris will weaken the weld, thus making it not last long. If the debris is too much, use detergent or mild dish soap for easy cleaning. Finally, dry your pipe when it’s perfectly clean to get it ready for the weld.
If you encounter a stubborn stain, use MEK (methyl ethyl ketone), a liquid solvent. You can easily get this solvent online or from any hardware store. Then, scrub the stains with a piece of cloth soaked with the solvent until you successfully remove the stain.
To avoid leaving a soapy coating on your pipe, avoid using any strong industrial detergents. This soapy coating will end up ruining your weld after a short time.
Always ensure you use a rod that matches the type of plastic you need to weld. For plastic products, all have letters marked on them, such as; PP (polypropylene), PE (polyethylene), PVC (polyvinyl chloride)
When welding with the right rod, it ensures that you obtain a quality weld compatible with the metal. Melt plastic around the joining points and use the same rod as the type of your plastic material.
A rod testing kit contains the various welding rods available today. To test the plastic, choose a rod that closely resembles your plastic and weld a little bit on the pipe. After cooling, try pulling off the rod with a pair of pliers. If you easily remove it, it’s not the right type, but if you don’t manage to remove it, cheers, you got it right. That means that the materials are alike.
Since you can only use a rod made from the same material as the plastic you are welding, refer to its name from where you placed it in the test kit. This way, you will ensure that you will get a good weld, and there will be no crack formation in the long run.
If you don’t have a rod testing kit, you can get it online or from any nearest hardware store near you.
When scrubbing pipes with sandpaper, ensure you use light but steady pressure. Scrub back and forth for perfect removal of the paints until you uncover the plastic completely. Additionally, please don’t overdo it since you will destroy your PVC, and that will lead you to conduct welding on it or replace the entire pipe.
You can choose to use a standing wheel or an abrasive disc attached to a drill or scrape the paint away with any other reliable tool within your reach. Completely avoid ruining the plastic beneath the paint.
Set your joint right before taking your welding gun. Ensure that the joint’s positioning can’t be altered then you can embark on your welding process. You should, however, avoid wrapping the area you need to weld.
When you secure the joint in the perfect position, you will not have to worry about any alteration. You will have all your focus on the weld, thus avoiding any mistakes in joining your pipes.
Joining the weld in PVC welding
Doing weld in requires few steps to be followed to ensure that you attain a quality weld. Below are the steps that you should follow.
- Preheat your welding gun for not less than three minutes
- Tack the welding edges to keep the pipes together
- Use angle cutting pliers to trim the edges of your rod
- Identify the speed nozzle on your welding gun and insert your rod
- Move the tip of your welding gun over the pipe for a quick weld
Plastics melt at different temperatures depending on their material. For this reason, you should set your gun correctly for a successful weld. The required temperatures range between 200 to 300 degrees Celsius. Too high temperatures will either burn your pipe or will not melt it.
Melt the edges of the pipes to keep your pipes pinned together. Fix a tack nozzle on your gun, pit in a little heat, and allow your pipe to begin melting before joining your pipes together. By doing this, the position of your pipes will not be altered during your weld.
The size of your pipe should determine the number of tacks you put all around the joint. Make sure they are enough to keep them attached.
This is a very simple step. You can also use a trimming knife in place of a plier to scrape the rod at a pointed angle. This helps a lot by avoiding a huge lump of plastic where you start your weld.
Always allow the rod to cool off before changing the nozzle and heat up again before you continue welding.
You will know the speed nozzle by its opening, where you insert your rod for welding. The clipped side should go in first, so you will weld it upwards.
Avoid touching the nozzle while it’s still hot. Instead, please wait for it to cool off or change it using the pliers.
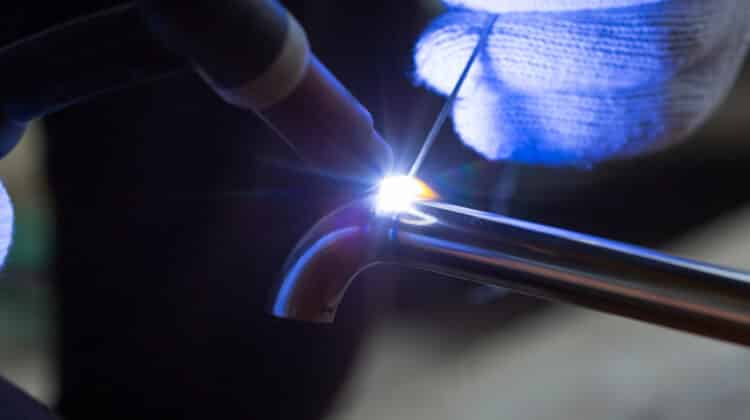
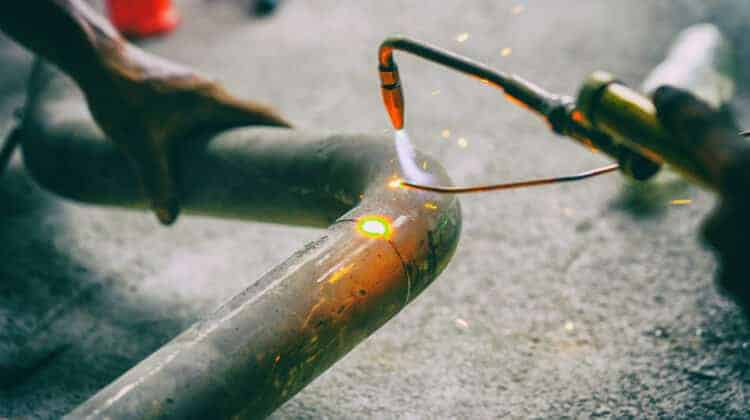
Hold your gun down on the joint at 45 degrees angle. Heat the plastic until you see it begin to melt as you press it with your hands to attach it tightly.
Be consistent for a perfect weld. Melt both the rod and the pipe until they are fit to be joined without burning them.
Move your torch faster if you notice your pipe burning or changing color to avoid using too much heat.
Finish your welding
After completing your welding, you need to give the PVC time to cool before doing any finishing operations. Below is what you need to do after completing your welding.
- Give your pipe five minutes for it to cool
It’s important to allow the plastic to cool back to room temperature before you continue to work on it. Plastics do not take long to cool. When it turns to solid or when it does not burn your bare hands, you can move on to smoothen it.
When you are done with the rod, please keep it safe on a heat-resistant surface to allow it to cool.
- Use a 120 grit sandpaper to smoothen the joint
Smoothen up the joint with sandpaper to make it look alike with the rest of the plastic. However, it would be best if you were careful not to scratch the area around the joint as you scrape it.
Be careful as plastic is generally soft and easy to scratch.
- Neat out the welded area with 180 and 320 grit sandpaper
Sand the area with 180 and 320 grit sandpaper to make it finer and less scratchy. Scape it until it looks fine and smooth like you did above with 120 grit sandpaper.
It’s advisable to always start with the lesser grit sandpaper as it is coarse; thus, it wears out more plastic. Keep the higher grit sandpaper for the last finishing step.
Having discussed the steps to take for successful welding, it’s also important to know the various plastic or pipe welding methods. Read below for the four main methods of plastic welding you can choose from;
Plastic welding methods
- High frequency welding
- Hot air welding
- Heat welding
- Plastic fabric welding
This method of welding is mostly done on materials with chemical electrons. PVC and polyurethane are the most common materials with these features.
In high-frequency welding, the materials you need to weld are placed on a high place like a table and are pressed right with high-frequency waves. In this process, the two pieces are joined in a strong permanent bond.
Hot air welding can also be referred to as hot gas welding. This welding process involves using heat from hot gas. Generally, the gas involved in the air has been heated in the welding gun through electric heating elements.
The heat produced in this process is enough to melt plastics and makes it easy to join two pieces of plastics together.
As we have learned above, welding is simply the joining or fusion of two pieces to form one. On the other hand, heat welding involves applying heat to the two different pieces to join them together easily. You join these two pieces by pressing them together and then leaving them to cool and form a lasting bond.
This is simply using heat to join two pieces of fabric. This is an important process as it builds permanent bonds between the two pieces of fabric. Fabric welding is cheap as it reduces maintenance costs and obstructs breaks and leakages in the final product.
Conclusion
With the above information, you can easily embark on your welding process without a hitch. If you need to repair or join a plastic material like a pipe, this article has all you need for a successful weld, from what you need to the process of welding and the methods of welding.
You will not go wrong when you follow the information above keenly. Just be careful, take safety precautions to avoid damages and burns.
