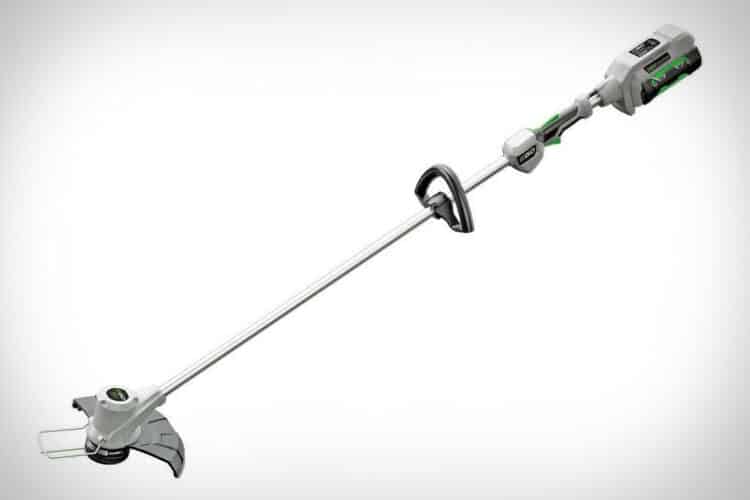
If you have a good pair of string trimmer that you keep in your storage for quite some time, you have to check if it still works. Although the string seems to be in good condition, you have to do some testing.
Do not wait until you see the line gets shorter and the small pieces of the line start to break off.
The string trimmer line can get brittle if you have been using it for a long time.Here are the essential things you need to know in replacing your string.
Table of Contents
1. Choose the Appropriate String Trimmer Line
Check the user manual on the appropriate line fit for your string trimmer. Wrong choice of string trimmer line can bog down the equipment.
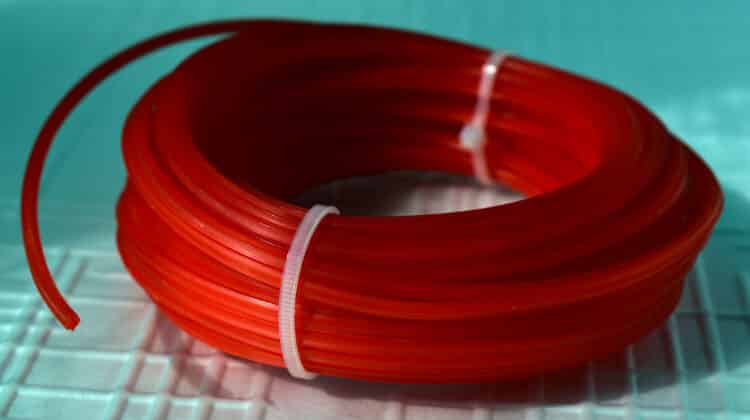
The width and length of the line vary based on your trimmer and the size. There are also different styles of trimmer available in hardware stores. You can choose from the following:
- Standard round line
- Multi-sided line
- Braided line
2. Remove the String Trimmer Head
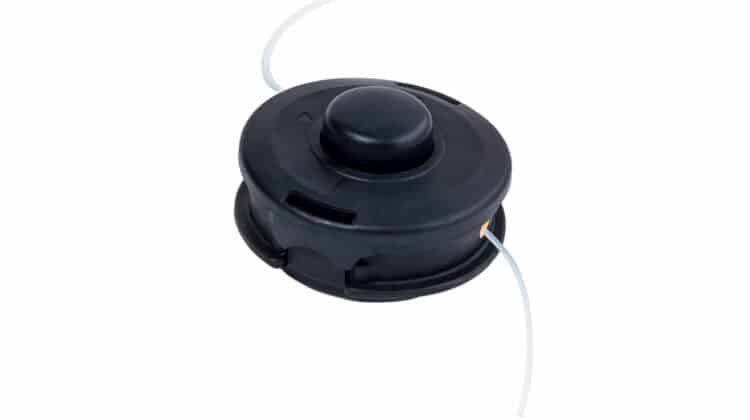
Unscrew the trimmer head from the bump knob and take the inner reel and spring.
Clean the dirt particles inside the trimmer head. Don’t worry if the trimmer head’s screw is loose. Make sure to keep it in a safe area because you will need the screw when reassembling the trimmer.
3. Prepare to Insert the Line
You need to cut two 10’ pieces of line and hold the two tips together. Insert the tip of the first length of the trimmer line into the hole.
Snap the remaining line into the other hole and hold it in place. The line should match the eyelets on the outside of the trimmer head to not spin loosely.
4. Wrap the Line Properly
There is a small arrow embedded on the trimmer head where you will need to wrap the line. Just follow the direction of the arrow on the reel. The arrow location varies on every trimmer head, but you can locate it somewhere near the edge of the reel.
Exert enough pressure to keep the line evenly wrapped to prevent any jam. If you see that there are about six inches left unwrapped, snap the string into the retainer on the spool and
5. Reinsert the Spring
Reinsert the spring into the shaft in the same manner when you removed it. Keep holding it down so you would avoid the spring from falling out.
You can see the eyelets around the spring head. Use your other hand to push the strings through the eyelets while still holding the spring in place. After you pull them firmly, keep your hand holding the spring and do the next step.
6. Rotate the Cap to Close the Head
Bring back the reel to its original place on the shaft. Line up the holding slots with eyelets. You can find the slots on the reel while you can find the eyelets on the head.
Upon holding the reel in a downward position, you need to compress the spring and place the bump knob back to the top of the trimmer head. Then, screw it onto the trimmer head.
7. Pull Out the String Trimmer Line
Do not pull the line too hard and make sure to release the line from the holding slots.
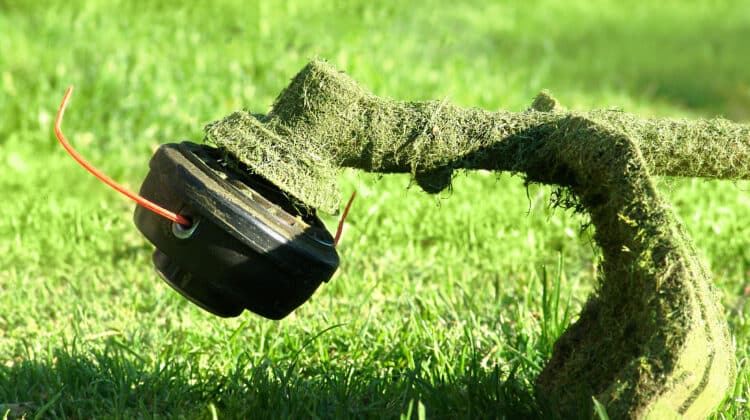
At last! When you check that it is already in its right place, you can start using your string trimmer. Start the engine and wait for a few spins to know if you do all the steps correctly! Then you are good to go!
