Brick houses look great until they start looking dirty. And who wants that?
Brick-built homes have been popular for generations. Mainly due to their rich textured appearance and timeless appeal.
Over time, though, the brickwork slowly attracts grime and dirt, even moss. The resulting discoloration makes your home’s exterior eye-catching for the wrong reasons.
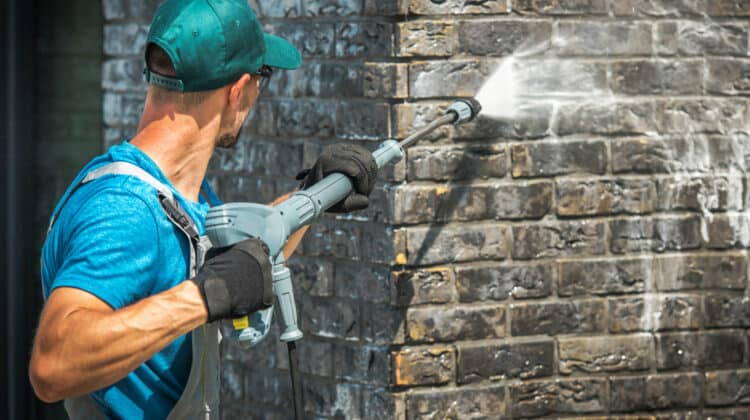
Fortunately, a standard pressure washer will get your brick looking as good as it did before. The following steps will help you restore your brickwork to its “as new” condition.
Table of Contents
1. Repair The Mortar
At least seven days before you plan to clean, repair any mortar joints that are damaged. The new mortar between the bricks will need at least seven days to harden. You need to have robust joints to prevent water from getting in behind the bricks and causing mold to grow.
As with so many DIY projects, the secret to success is in the preparation. In this case, concentrate first on the brickwork’s structural integrity before reaching for the pressure washer. If you don’t own a pressure washer, pay for a new one by check, get a discount, and wait for delivery. That will guarantee you have time to patch up the mortar and let it set.
2. Wet The Bricks
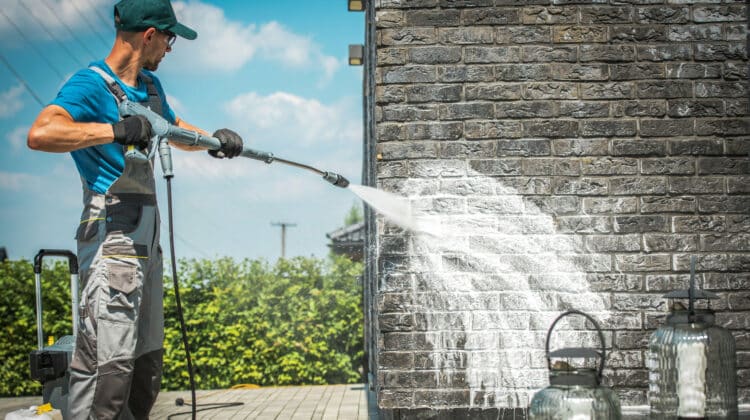
Thoroughly soak the brick. It is an essential first step before using detergents as it will prepare the bricks for cleaning.
*Top Tip: Ensure an even and consistent wetting of the brick by spraying the water from bottom to top. This will help to soak the surface evenly and avoid water running down unevenly.
3. Apply The Detergent
Only use a detergent that’s specifically designed for cleaning brick or outdoor siding. If you use other detergent types, you will likely cause the dirt to stick to the mortar. When applying the detergent to your brick, again spray the bottom upward.
Take a breather for ten minutes to allow the detergent to work its way into the brick. Here the trick is to use more detergent and less pressure. Remember that brickwork and mortar are porous. Some water and detergent will inevitably soak in a little. Don’t skimp on the water or detergent to remove all the dirt from every nook and cranny.
Let the detergent do its work in loosening and removing the dirt from the brick. Patience will make your brick gleam brighter and cleaner.
4. Brush Out Awkward Stains
For brick that looks very dirty and stained, attach a rotary scrubbing brush. A rotary scrubber is much less abrasive than using high water pressure to do the job. The brush will work the soap into the brickwork and help break up stubborn stains.
Grease, moss, and tree sap take time to remove. So too, do the grass stains left by mowing. Some hard scrubbing with a good brick and mortar soap brand will shift this type of difficult to remove staining.
5. Rinse The Bricks
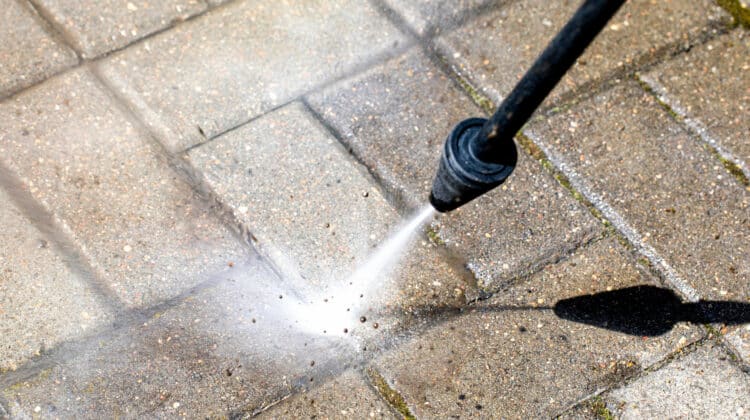
After the detergent has worked its magic, change to a finer spray pattern. It’s essential to use a more delicate spray at this stage as high pressure will quickly damage your brick.
Reverse your spray’s travel direction by going from the top toward the bottom to ensure you remove all the detergent and debris. Use slow passes, but avoid holding the pressure in one spot. It’s also best to use circular motions over stubborn staining while working from top to bottom in neat sweeping movements to remove the dirt evenly.
6. Apply The Sealant
Leave the brick to dry before applying a sealant approved for brick and mortar. Applying a sealant will protect your brick and keep it looking cleaner for longer. It’s similar to washing your car and then putting on the wax to keep it shining.
The sealant also prevents acid, oil, grease, and other damaging substances from penetrating the brick. Like car polish, the brick and mortar will look as good as new and form beads to repel water and other liquids.


