Knowing how to braze metal is a valuable skill to learn. But, it’s first vital to understand the basics and essential steps for brazing metal before working on any DIY projects.
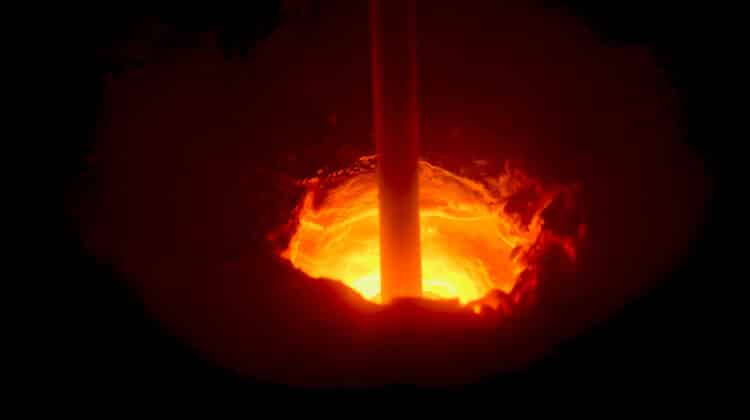
Brazing involves the process of joining two independent metal pieces to form a solid joint. The molten metallic filler often runs along the joint, cools down, and creates a stronger bond. The brazed joints are often super strong and firmer than the original base metal pieces.
Base metals such as bronze and silver are suitable for brazing. With this method, you can create an invisible and robust bond. Besides, you’ll find it resilient in various temperature ranges. It can also withstand jolting and twisting movements with perfection.
Table of Contents
General Steps on How to Braze Metal
The key determinants of how efficient a brazed joint is lies in its method of engineering and design. But, even a well-designed joint can turn into a mess if you fail to follow correct brazing procedures.
Use these easy steps and procedures on how to braze metal to create solid joints like a pro:
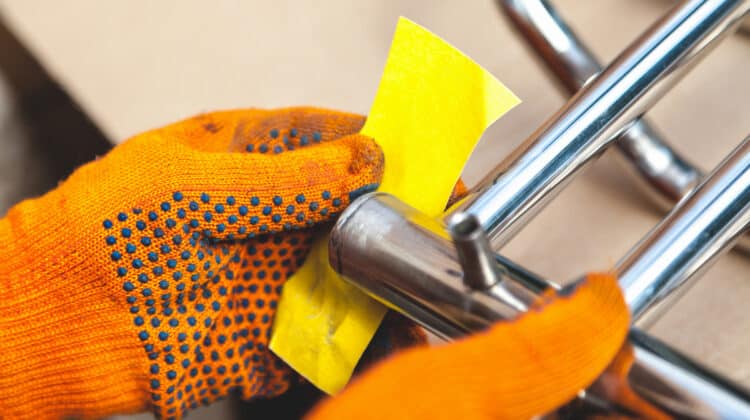
- Scrub the metal surface using a wire brush or emery cloth. Then use soapy water or a degreaser to clean the metal surfaces.
- Place the metal in an appropriate position for better brazing operation. Primarily, the overlapped joint tends to be heavier and bulkier. So, brazing the metals together becomes easier than when dealing with a gapped joint. If necessary, use a vice to keep the parts well-positioned.
- Glow the part where the two metals meet until the joint becomes heated.
- As you heat the metal surfaces, spread over the brazing rod along the joint. If you’re dealing with larger areas, heat the joint’s portions to brazing temperatures. Then, proceed to the next connecting spot.
- Once you finish brazing, allow the joint to cool down and strengthen the bond. Finally, use a wire brush to clear all the residues or limit oxidation of the brazed part.
Brazing Aluminum Metal
Are you having any challenges with some aluminum metal repairs at home? Knowing how to braze aluminum metal can be a worthwhile skill. It’s a fast and cheaper way to repair leaks, cracks, or holes in aluminum metal. Besides, it’s a typical process involved in making air-conditioning repairs.
Unlike welding equipment, the aluminum brazing kit is affordable and portable. It also doesn’t need greater heat. That said, let’s learn how to braze aluminum by following these steps:
- First thing first, put on your protective gear. Before brazing your metal, wear proper clothing, safety glasses, and non-vm inflammable gloves.
- Ensure the metal surface is clean and free from paint, oil, dirt, or any other residues. Use a degreasing agent or solvent to remove grease and oil from the surface. If you’re dealing with a repaired surface, sandblast the metal surface. Or, use an emery cloth or a file to clean the surface for effective operation.
- Support the aluminum part that requires brazing using a vice.
- Use a brush to smear the flux that’s ideal for both the metal and working temperatures. A versatile all-purpose flux works by enclosing various temperature ranges. Plus, it’s suitable and practical for brazing tasks. Immerse the filler metal rod into the flux to add more flux. If you wish to skip this step, use rods already coated with flux. That’s because these rods have flux needed when brazing aluminum.
- Use a propane torch or acetylene to heat the joined area until the aluminum metal glows orange. This often happens when the metal becomes hot. When you use the flux rod, the color gets altered or clears the entire metal surface.
- To make the joint strong, run the filler metal and brazing rod along the crack or joint. The metal’s heat melts the filler into the area that needs repair. You can also use the brazing torch’s flame as necessary to melt the rod for a firmer fix.
- Once the filler material hardens, remove the flux by pouring hot water on the repaired part. Or, immerse it into hot water, and the flux will get removed from the surface. If not, scour the brazed aluminum surface with a wire brush. However, ensure the surface is wet or is in warm water for excellent peeling off.
- Finally, polish the brazed area using an emery cloth once the joint cools completely.
Brazing Steel Metal
Brazing exists as the best yet suitable way of joining two different steel types. It’s also ideal where you’re not looking to make a solid physical bond for aesthetics. Follow these steps on how to braze steel metal and do it with perfection:
Prepare to Braze
Start by cleaning the steel to remove any dirt, oil, and grease. A wire brush or an emery cloth is among the best abrasive options you can use here.
Mix water and unique powder to create a paste and smear it along the joint. Flux helps prevent the metal surfaces from getting oxidized. Otherwise, the entire steel brazing process will not be successful.
Use the Brazing Torch
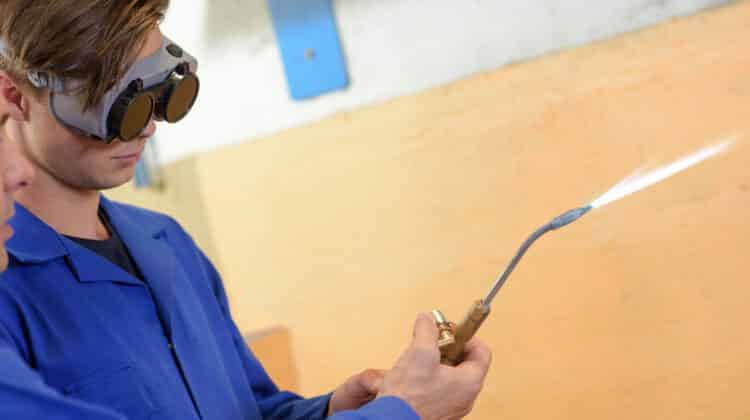
Turn on the brazing torch to start pressurizing gas and air. As you slowly turn on the gas-air control, the gas enters the torch through the nozzle. It’s then kindled through the pilot light the nozzle has for a perfect match.
Adjust the Flame
Turning on the gas-air control allows more gas and air to flow inside the nozzle. As a result, the flame produced becomes long and more intense. Adjust the flame’s length and intensity using the control. This gives you the desired amount of flame best for your project.
Make the Joint
Position the two steel metal pieces well on a rotating table. Place fire bricks at the metal’s back and sides for extra safety caution.
The steel offers gentle general heating that raises the temperature steadily. This allows the steel to expand. And the water inside the flux will start turning to vapor without escaping from its position. In this first stage of brazing, move the flame across the joint.
Heat the Joint
Move the front blue tip of the flame forward but closer to touching the metal steel. Now focus on heating the joint as you slowly move the flame backward and forward along the joint. You should see the joint appear red, and that only occurs if it’s pretty hot.
Rod Melting
It’s the final stage of brazing steel metal. Here, push a brazing rod smoothly over the joint. At apt temperatures, the rod’s end will start melting and begin to flow alongside the joint. Feed the rod into the joint until the joint gets brazed.
Now, allow your brazed steel to cool. If you fasten the cooling process, the joint may crack or get distorted.
Procedures for Brazing a Metal Successfully
Nothing hurts more than getting your brazed metal part cracking or distorted in no time. Here are the appropriate brazing procedures to get a solid and neat joint that’ll last for years.
These procedures should help you get your desired results:
Clean the Metal Surfaces Properly and Ensure a Perfect Fit
Brazing uses a capillary action to transfer metal fillers between the metals’ surfaces. Thus, maintaining a clear surface between the metals makes the capillary action effective.
Usually, 0.0015 inches is the joint gap or greatest clearance for many filler metals. However, typical clearances may range between 0.001 and 0.005 inches.
In daily brazing, it’s not a must for the clearances to be very precise to get a solid, strong joint. That’s because the capillary action often works well on various clearances. And this gives you some amount of leeway.
Even in daily shop brazing projects, an easy slide fit offers a good brazed joint between two metal parts. But it would be best if you remembered that an increase in clearance reduces the joint’s strength. The capillary action often stops at about 0.012 inches. And if you intend to join two flat metal parts, be sure to place one on top of the other.
It would help if you aimed at obtaining a metal-to-metal clearance contact. The metals’ finish offers excellent roughness for the molten metal filler to flow. On the other side, well-polished metal surfaces may limit the flow rate of the filler metal.
Always remember that all brazed joints occur at brazing temperatures. Not under room temperatures. Also, consider the metals’ thermal expansion quantities before joining them. That’s if you intend to assemble tubular yet dissimilar metals.
But how much allowance should you make for the metals to expand and contract? Well, the metals’ nature, size, and outline of the joint are the determining factors. However, many variables get involved in a brazed joint’s structure. Each gives an exact clearance tolerance in every brazing situation. Regardless of the case, remember that metals expand in different ways when heated.
Clean the Metal Surfaces
Metal brazing only occurs best with clean surfaces. Make sure you remove any coatings like rust, grease, dirt, oil, or scale. These contaminants may create a barrier between the metal surfaces or brazing materials.
You should perform the cleaning process in the right way. Remove oil and grease using a degreasing solvent, vapor, or alkaline solution.
Use acid pickle solution to remove oxide coatings from the metal surfaces chemically. But, be sure the chemical is compatible with the metal you’re cleaning to avoid any corrosion. Alternatively, use an emery cloth or a wire brush to remove the scale mechanically.
Flux the Metal Parts
Flux refers to a chemical compound smeared onto brazed areas before brazing. Therefore, it is vital in the atmospheric brazing process. That’s because the metal surface speeds up oxide formation. And this is a product formed when a hot metal reacts with oxygen. Failure to do so, the brazing filler won’t make the metal surfaces wet and bond for brazing.
Applying flux coating on the area helps prevent the surface from becoming oxidized. Besides, it dissolves and absorbs any oxide compounds formed when heating. The compounds may also have remained on the metal during cleaning.
You can use a brush to conveniently smear the flux onto the joint for more excellent coverage. Remember to apply the flux a few minutes before brazing to reduce the time for drying and flaking off. Consider a flux that suits the metal you intend to work on. Besides, it should fit the brazing temperature and general brazing conditions.
Set-up the metals for Brazing
After cleaning and fluxing the metal parts, position them well for brazing. Ensure they maintain a correct alignment during the heating and cooling processes. This enhances proper capillary action. Use gravity to hold the metals together or use a vice to support the parts for excellent brazing.
Braze the Joint
The brazing process mainly involves heating the joined parts at brazing temperatures. And allowing the filler metal to run through the joint. Start by applying heat to the base metals extensively using a hand-held brazing torch. Or combine various fuels such as propane, natural gas, propylene with air or oxygen to form heat.
Watch out for the flux to avoid uneven heating. If the flux’s appearance changes uniformly, then the joined parts are heating evenly. After heating the joint to the brazing temperature, place the filler metal.
Clean the Brazed Part
Once you’re done with brazing the metal, clean it as most brazing fluxes tend to be very corrosive. You can apply these two steps:
- Remove flux residues from the metal brazed surfaces
- Pickle the joint surface to get rid of oxide scales created during brazing
Conclusion
Brazing metals is a unique process for joining different base metals together. It is pretty the same as soldering though the process takes place at extremely high. For excellent brazing results, use an apt brazing rod material.
It would be best if you melted the brazing rod using the heat absorbed by the metal surfaces. But not straight with the torch’s flame. Always use a brazing torch that delivers aflame with high intensity. That said, we’re confident that you now know how to braze metal.
