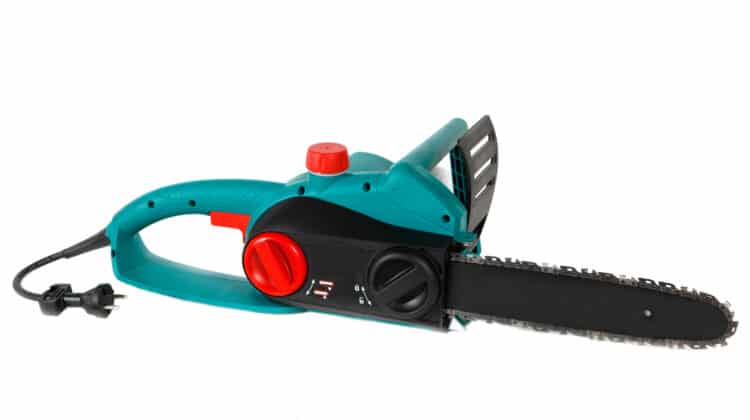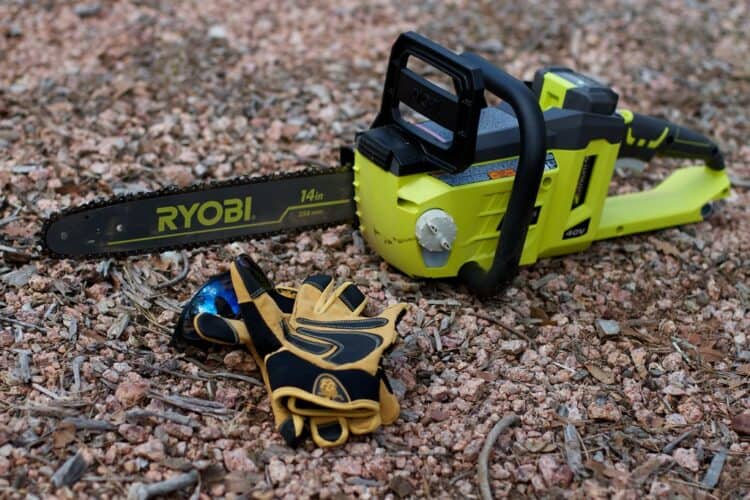
Do you want to know how to put a chain back on an electric chainsaw? It’s very doable, but it won’t be easy. It will take a particular kind of know-how to get it done with a little bit of finesse and a good amount of elbow grease.
If you are an avid DIYer and like to engage in woodcutting projects or simply a responsible homeowner who loves cutting wood to feed the fireplace, a chainsaw is an essential tool to own. Yet like all machines that employ a chain as a big part of their functionality, it will become hot and loose.
It will eventually lead to the chain falling or jumping off from the guide bar. Also, when it gets jammed with wood chippings, it might come off.
Another reason is that you may be using it without proper tension and became too loose. Whenever any of these happens, it means you need to adjust the chain.
Table of Contents
Electric chainsaw vs. gas-powered chainsaw
Electric chainsaws have become popular over many years, especially among homeowners. They like it because they’re ecologically friendly, run quietly and cleanly compared to their gas-powered counterparts.
However, both are similar in the way it works and malfunctions, thus needing to be replaced. Likewise, the chains elongate because of the stress and workload imparted to them while sawing.
How to put chain back on an electric chainsaw: A step-by-step process
These steps will teach you to install a chainsaw chain, or change the chainsaw chain, or put a chain on a chainsaw. Each may seem different, but whose procedure follows the same route.
There are many reasons why the chainsaw chain keeps on jumping off the bar. It’s perhaps it needs proper lubrication, or maybe it’s overheated.
If you have the right tools with you, adjusting the chainsaw chain is going to be easy.
Remove sawdust
Before removing the chain from the chainsaw, be sure all the debris and wood chippings that are stuck in the chain or anywhere else are removed entirely. Use a wide paintbrush with a three-inch brush to clean all the nooks and crannies.
Let loose the bar
After cleaning, you will have to take the old chain out from the chainsaw. It means you have to make it less tight at the cutting bar. This process may vary with each model. However, there are two ways of dealing with this. As mandated by the manufacturers: those that need tools and those that don’t.
For saws not needing tools, there is a knob situated on the right side of the chainsaw that you can turn to expel the bar and adjust the chain tension.
For saws that necessitate tools, you’ll be able to see two bolts and nuts on its side where the saw body converges with the bar.
Chain de-tensioning
After loosening up the cutting bar, the next step is for chain de-tensioning. Look for a screw or knob in the area you have slackened the cutting bar.
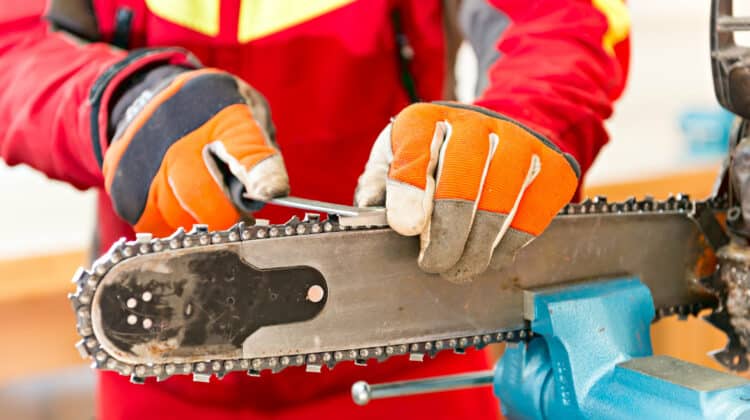
Be sure to wear protective gloves so that your hands will be safe from any possible cuts. Use a wrench to slacken up the knob or screw, but don’t remove it.
Turn this will make the chain looser on the bar. Make it loose entirely. This way, you can remove the cutting bar completely. Keep on unfastening it until it’s free.
Take out the old chain
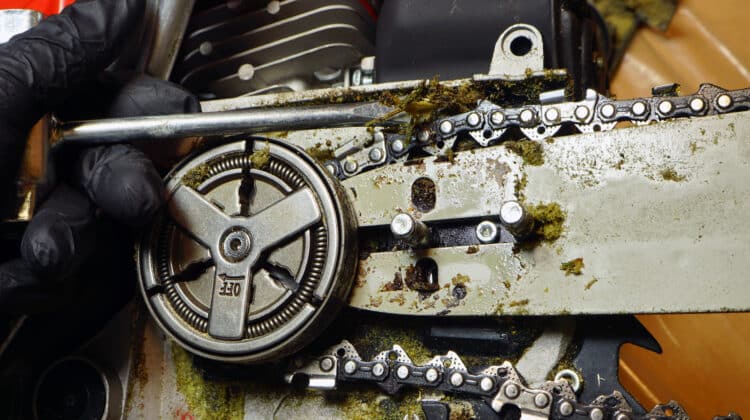
Before changing the chainsaw blade, remove it from the cutting bar first. It will still be attached to the saw with a small sprocket.
Look underneath for a slot where you can see the chainsaw chin on the sprocket. With a screwdriver, slowly slip it off from the sprocket, and it will get completely free.
Clean the saw’s internal components
Before installing the brand new blade, use the same wide paintbrush to clean the inner parts, especially the clutch area where sawdust and debris might get stuck.
Also, check on the grooves if there are no gouges or any type of damage. It is situated in the chain blade guide.
Installing the new chain
To recap: the old chain has been removed, and the internal parts have been thoroughly clean. Now, it’s time to put in the new electric chainsaw chain.
You might be asking, which direction does a chainsaw chain go on? Or maybe more appropriately, which way does the chain face on a chainsaw?
You need to know that not all chains can work with every saw model. You should check its user’s manual to make sure which is the compatible one for your saw.
Also, make a mental note of the direction the chain rotates on the saw. This information can be found on the saw itself and the same for all models.
The chain goes along on top of the bar, goes around the tip, then towards the bottom. It’s essential to be sure you set up the new chain in the correct fashion.
Also, take note of the direction the blades are sharpened, on any markings on the chain itself or the package to make sure you’re going to do it properly.
Mounting the chain
Mount the chain on the sprocket and make sure it’s parallel to the guide bar. Look for the chain’s internal lugs going into the small slit on the bar.
Begin placing it close to the saw body and continue mounting it around the bar until it’s snugly fit.
Adjust the tension
Before starting to re-tensioning the guide bar, make certain that every lug is aligned properly in their respective slots. Don’t stop the tensioning process till you have arrived at the right tensioning as mandated by the manufacturer.
There should be little slack. If the gap between the chain and the bar would fit a dime, then you’re doing it right.
Lastly, tighten the bolt with a wrench, or if it’s a tool-free knob, then you can use your fingers to do it.
Chains are bought already pre-lubricated, and add chain oil to your chainsaw before turning it on.
Prompt it manually to move forward and backward to ascertain if it’s moving evenly. Because your chainsaw is powered by electricity, you have to test it by inserting its plug on a socket.
Let it run slowly so that the oil will lubricate the whole chain. Try sawing off a piece of wood to check if it’s sawing the right way.
If something is obstructed or you feel something is wrong, turn it off and unplug it from the socket to check what’s wrong.
Conclusion
The whole reattaching-the-chain ordeal is very simple. You don’t need to have the mechanical or technical prowess to put it back on. Once you get used to it, you will be proficient and won’t the help of a professional repairman anymore.
