Like all the other parts of your water heater, water heater drain valves can show signs of wear and tear. They may become clogged by limescale build-up and other sediments floating around in your water. When this happens, the drain valve will display poor water flow. Drain valves can also degrade with time. You will then notice that it has a leak or leaks. These are signs that your drain valve is calling for a replacement. It’s a good thing that these are parts you can pick up at any hardware store. And water heater drain valve replacement is an easy enough procedure. You can learn how to do it yourself by following the instructions in this article.
But, first, we must take care of some necessary housekeeping matters.
Table of Contents
Read The Manufacturer Instructions Manual
I cannot stress enough how important it is to do so. People tend to glance through manuals after unboxing their appliances. Then chuck them in a corner. But, the manual is there for your safety and learning. It is wise to give each page a thorough read to avoid injury and property damage.
Contact a professional for help if you have trouble understanding anything.
Water heater drain valve replacement is pretty straightforward. If any part of this project makes you uncomfortable or is unclear, you should call a professional.
What Does Water Heater Drain Valve Replacement Cost?
A water heater replacement drain valve costs as little as $10. But, hiring a professional to complete the install could add another $200 to your bill.
That may not seem like a high price to pay for a seamless water heater drain valve replacement. But you may not have that expense in your budget for the month. What do you do?
If you have the will and time, you can save that extra money by doing it yourself.
Choose The Correct Replacement Valve
Manufacturers use different materials to design drain valves for electric water heaters. They same applies to gas water heaters. These are the types they come in.
- Brass
- Composite
- Plastic
But, the vast majority of water heaters come with drain valves made of plastic. I am guessing that is to lower production cost and the sale price as well. When the time comes, water heater owners can choose to switch out their plastic valve. Any of the three can stand in as a replacement.
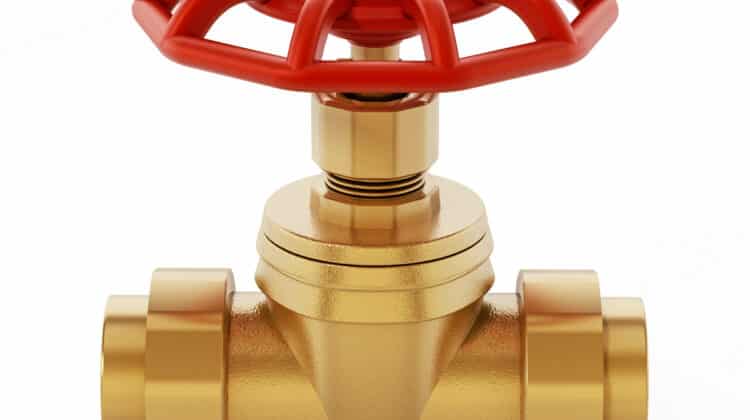
Plastic is the cheapest option, but it is less sturdy and has a shorter lifespan than the other two. Plumbers recommend using a brass drain valve as a replacement because it is more durable. They also are temperature resistant. Although it is a lot more expensive, a brass valve will last longer. The maintenance on these valves is mostly hassle-free.
If you cannot afford the brass valve just yet, use the plastic or composite as an interim. Save up, so the next time you need to replace the valve, you can afford the brass.
Tools You Will Need To Replace Water Heater Drain Valve
- Rags/towels
- Screwdriver
- Pipe sealer or some Teflon tape
- Plastic threaded inserts with self-tapping threads
You may not need to use these, but we will discuss their use later in this article.
- Pliers (needle-nose)
- Hacksaw blade
- Large bucket
- Wrench (the adjustable kind)
If you do not have a wrench, you can use tongue-and-groove pliers.
Changing The Water Heater Drain Valve
That goes without saying if you have a leaky drain valve. It is never wise to ignore your leaky drain valve, small as you may think it is. Those tiny droplets of water can lead to damage to floors. If left unchecked, that damage can extend to subfloors and even walls. There is also the health risk these events can cause, like mold growth and mildew.
Significant flooding will ring you up a hefty repair bill. So as soon as you notice your water heater drain valve leaks, your first course of action is to empty the tank. If you want to avoid taking cold showers, get on with your water heater drain valve replacement right away.
A clogged drain valve is a nuisance because it affects your ability to drain the tank quickly. And certain repairs you can only do when the tank is empty.
Important Note: Changing A Plastic Drain Valve
I mentioned earlier that changing the drain valve on your water heater is simple and straightforward. And it is. But sometimes, getting plastic drain valves out can be a little tricky. That’s because the material breaks pretty easily.
There are three ways you can try to remove a plastic drain valve.
Method One – Use Pliers
Use a pair of pliers (channel lock is best), clamp it around the valve, and turn in an anticlockwise direction. Do so carefully. This will make the entire process so much easier.
Method Two – Cut The Drain Valve Out
For this step, you will need to cut the drain valve out.
Make two (2) cuts across the valve’s nipple with a hacksaw blade until it comes out. But you want to avoid cutting the threads of your water heater. Finally, using a little screwdriver or needle-nose pliers, remove the remaining parts.
Method Three – Put Inserts In
Simply unscrew the nipple after inserting the inserts. If your water heater is old, removing the plastic valve this way may not work.
Steps To Change The Water Heater Drain Valve
- Shut The Water Heater Off
Now that you have all the tools you need, it is time to get started. The first step is ensuring the water heater tank has no water in it.
For safety reasons, ensure that your water heater is not on before doing maintenance work. - How To Turn Off Your Gas Water Heater
If your water heater is gas-powered, find the thermostat. It is somewhere near the base of the tank and flip it to the setting that says pilot. - How To Turn Off Your Electric Water Heater
For electric water heaters, you need to find your breaker box. Turn off the breaker that powers your water heater. - Turn The Water Supply To The Water Heater Off
First, shut off your main water supply line. When you do, you will have no access to water anywhere inside your house.
There is a water inlet valve that lets cold water into the tank. You can find it somewhere on top of your water heater. You need to find it and close it.
Open a faucet for hot water at any location in the house. Doing so will release the pressure in the tank. If your water heater has a T and P valve, you can also release it to relieve the pressure. - Empty Out The Tank
The water in the tank might be as hot as 125 degrees Fahrenheit or higher. It is best to give the water in the tank twelve to twenty-four hours to cool down. If you do it while the water is still hot, you may suffer severe burns.If you do not have that time to spare, you can drain the tank right after shutting the water heater off. But the water will still be piping hot. Wear protection to prevent burns.Do not allow children into this area while you work if the water is hot. If you have any helpers, they should also wear protective gear to avoid scalding.
Follow here to learn how you empty out the tank.Some people suggest using a bucket to drain out the water. A water heater can have anywhere from ten to a hundred and twenty gallons of water. If you have a container big enough to contain all of that water, getting it out of your house will prove difficult. Using a hose is better and easier.Connect your hose to the drain valve. If you have a floor drain, place the other end of the hose near or into it. In the absence of a floor drain, run the hose through a nearby exit so you can drain the water outside.Here is an important tip. If there is no water flow when you try to empty the valve, abandon your water heater drain valve replacement project. Contact a professional. If you have free water flow, then you can continue with this project on your own.
- Close The Drain Valve
You can close the drain valve once there is no more water left in the tank or flowing from the hose. Use your flathead screwdriver to shut it and then unscrew the hose. - Remove The Faulty Drain Valve
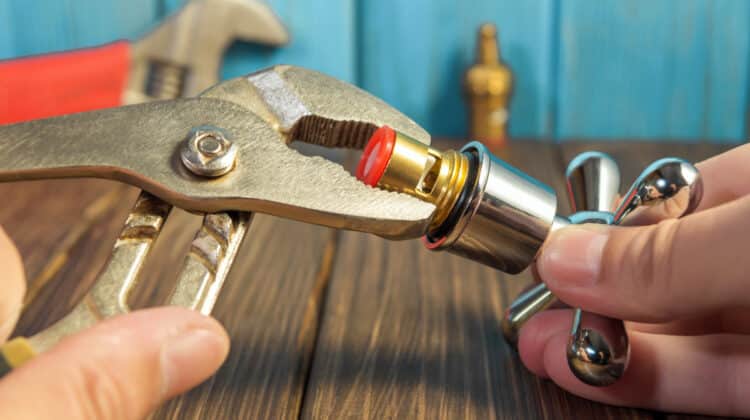
Get your wrench. Secure it around the drain valve and drain in a counterclockwise direction to loosen it. Once you do that, put the wrench away and use your hands to take the drain out the rest of the way.
If you emptied the tank while the water was hot, it could heat the drain valve and burn you. Ensure your hands are protected before you touch them.
When you remove the valve, some water straggling behind may trickle out. That is the reason for having the rags on hand to wipe it up.
At this stage, you are ready for your new water heater drain valve replacement. - Put In The New Valve
Putting in the new valve is as simple as removing it. These are the steps you need to follow. - Seal The Threads With Some Teflon Tape
Get your new drain valve. Wrap some Teflon tape around the threads where you have to screw the valve into the water heater. The Teflon tape acts as a sealant to prevent leaks. Wrap the tape around the threads at least six times. - Screw The Valve Into Place
Put the new drain valve in the same spot you removed the old one. Use your hand to screw it in a few times. Then use your wrench to tighten it.
Secure the wrench around the valve and turn in a clockwise direction. Keep turning until the valve stops moving and there is no more give. - Ensure The Valve Is Closed
It is time to get ready to refill your water heater tank. Take your screwdriver. Stick it in the slot to close the drain valve, and turn it in a clockwise direction to set it to the closed position. If you leave the valve open, the water will drain out and create a mess very quickly. - Release The Pressure In The Tank
You need to open a hot water faucet somewhere in the house and leave it open. By doing so, you can test as the water fills that hot water flows to the taps. - Open The Water To Fill The Tank
If you shut off the mainline for water to your house when you started this project, you will need to reopen it. Then turn the shut-off valve at the inlet line for cold water to open it as well. That will let water into the tank.
You will hear when the heater starts filling up.
At this point, you want to check your drain valve connection for leaks. If you notice even a drop of water leaking out, you need to have it fixed before moving forward.
Take off the drain valve you put in. Fix the Teflon tape and try again using the same process you already used.
Let the water fill the tank until you have a stream of water flowing steadily from your opened hot water faucet. Because the water heater is still off, the water will be cold. When you see the water flowing, close the pipe. Let your tank continue filling. - Turn The Water Heater Back On
It is never a wise idea to turn on your electrical appliances before completing your project. When you are sure there are no leaks, turn your water heater back on.
Final Thoughts On Water heaters Water Drain Valve Replacement
Water heaters water drain valve replacement is that simple. Nothing about completing this job is difficult. Some people shy away from doing these projects themselves. But learning how to repair your appliances and other equipment is worthwhile. The bonus is that it will save you a lot of money over the years.
With proper care, your home appliances, including water heaters, can last fifteen years. One of the simple maintenance checks you can do is emptying out the tank every once in a while to clean it. The best part is you can do this yourself.
Here are the reasons why you need to empty the tank.
Your water supply has sediments and minerals in it that pack to the insides of the tank, pipes, and valves. These deposits collect in the drain valve as well. Deposit build-up will not only affect how well the tank drains. In time, it will cause the drain valve to degrade.
It does not matter if you have a composite drain valve or one made of brass or plastic. Eventually, the drain valve will deteriorate, and it will spring a leak.
Do not ignore a leaky drain valve even if you think the leak is small. Those tiny droplets of water will seep into your floors and cause a lot of damage. If left unchecked, that damage can spread to subfloors and even get into the walls. There are also the health threats associated with mold growth and mildew to keep in mind.
Do not forget, flooding will ring you up a hefty repair bill.
Your water heater should last well over a decade, and replacing them is not cheap. If you want to avoid spending those extra dollars, give your appliances proper care. Learning how to do maintenance and repairs yourself is a practical idea.


