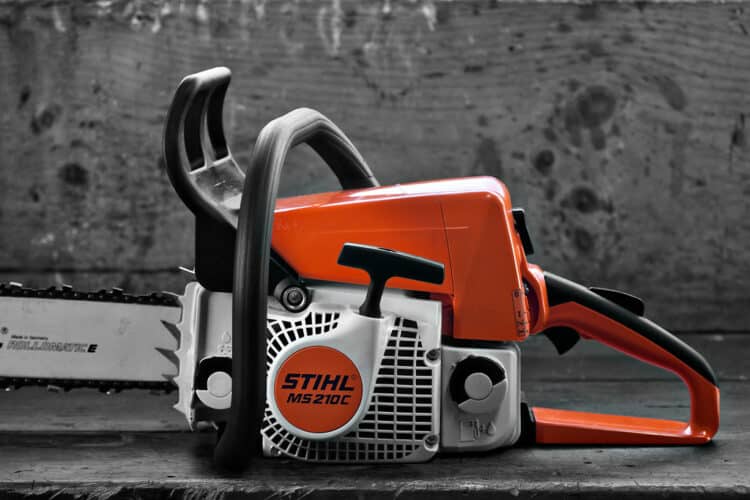
Managing to rebuild a chainsaw carburetor by your self is the best thing for any do it yourself repairer.
It will repair costs as compared to taking it to an expert.
In this article, I will guide you on a step by step on how to clean and service a chainsaw carburetor. And I will also show you how to detach and attach all the parts back together.
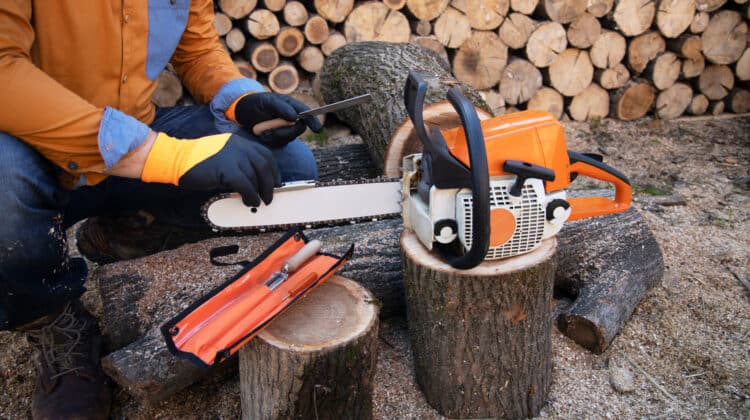
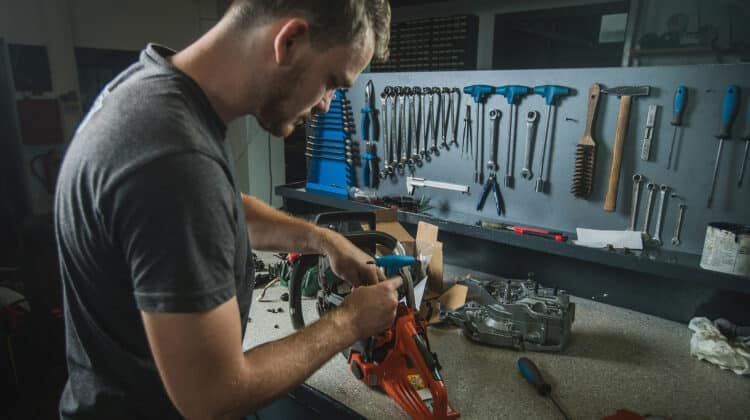
Before we do anything else, let’s check on the tools that you may need to open up the parts or clean the carburetor: that is, paper towels( in case you need to clean or dry a part), at least of pair of gloves, a flat screwdriver, small screwdriver, rebuild kit and standard screwdrivers.
With all the essential tools in hand now, you can start the procedures needed for the carburetor.
Table of Contents
How to do a chainsaw overhaul
The most effective inspection and maintenance routine need an overhaul.
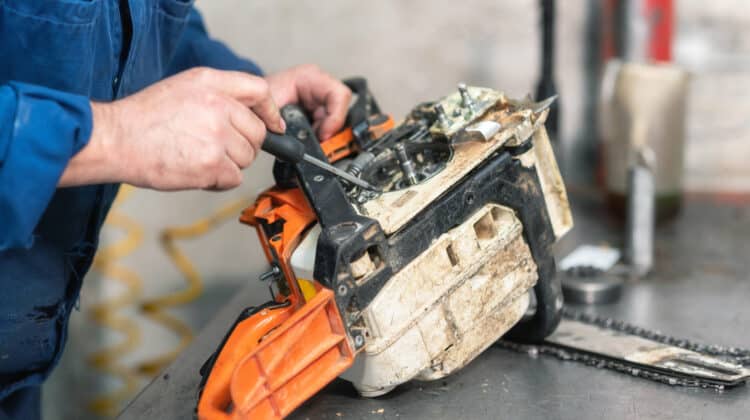
That means you will have to take the chainsaw apart piece by piece before you clean and inspect the parts for damages.
Taking the chainsaw apart can give you greater access and make your work easier. But first, you need to disconnect your chainsaw from the primary power source.
If it is battery powered, take out the battery, unplug the cord for electric chainsaws and drain all the fluids for gas models.
You then need to unscrew the nuts on the cover where the guide bar attaches to the powerhead.
Before you remove the cover, however, ensure that you disengage the chain brake. You can then separate the chain and the bar before cleaning each separately.
You then need to remove the top cover of the powerhead to access the sparkplug and the air filter.
Inspect each part separately to determine the damage or degree of dirt. In some cases, you may need to replace the sparkplug depending on how it appears.
But before you start cleaning the air filter and the spark plug, it is best to stuff the air intake of the carburetor with a rag.
That will prevent dust from getting in and clogging it. Putting the choke lever on close will seal the carburetor from the inside and prevent debris from getting in.
If the air filter is not too filthy, you can use a soft tip paintbrush to clean it. Please do not use a pressure washer on the air filter as it can damage easily.
But a filthy air filter may require the services of an air compressor to get rid of the dirt.
If your air filter is not paper, then you can use soap and warm water to clean it before rinsing it under running water and letting it dry well.
How to service a chainsaw carburetor
Most problems in a chainsaw that involves hard starting and low running are caused by the carburetor.
Most of the carburetor issues are caused by dust or any other debris getting into the cab.
Other internal parts of the cap do eventually wear out. These parts include the diaphragm.
Even more, is when the fuel stays in a carburetor for an extended period, it may also gum up the passages in the tabulator.
These cases have become routine over the past few years as fuel manufacturers add more and more eternal to our fuels.
This chemical attracts water after interacting with water it causes a reaction hence creating an acid, his hence leads to corrosion caused by the acid.
Luck for you, fixing these problems isn’t hard. Read on to find how you can get to work sooner.
How to remove the carburetor
Servicing a carburetor is quite an easy task: however, it requires some little skillset to pull it off.
Now roll up your sleeves and let’s get to work. The first very thing that you need to do is wear your because it is about to get messy.
Next, open up the fuel tank and drain it empty, ensuring there is no more fuel inside.
The next task is opening up the cylinder shield. It is done by turning the knob which is black to uncover inside.
The next thing that you need to do is disconnect the speck plug wire. Then going back to the uncovered part you will notice there are two screws.
The two screws are to be opened up using the flat screw head that I mentioned earlier.
After removing the two screws, you will notice that there are two more nuts that that secure the carburetor firmly to the chainsaw body.
To open them up you will need a wrench will open them up, allowing you to reach the carburetor.
The other important thing is to remove the fuel lines that you need to clamp them to prevent any fuel remaining from spilling.
Then remove each one of them from the carburetor. You can use a flat screw head to push each one of them from the edge.
Now, since there are no other parts attached to the carburetor, you can go ahead and remove it from the chainsaw.
A two-cycle carburetor has numerous internal parts that are commonly replaced When rebuilding the carburetor.
For more convenience, most carburetor manufacturers make rebuild kits which contain all the parts to rebuild your carburetor. I recommend you get one of these.
There are two types of kits offered for you in the market. It includes a complete rebuild kit or a gas kit diaphragm kit.
The latter includes the gas kits and the two diaphragm while the former rebuild kit contains the gas kits, diaphragm, metering needles and the fuel inlets.
To get the right parts, you will have to check the manufacturer of the carburetor this is done when you check on the carburetor as indicated and check for the rebuild kit by checking for the model number.
If you have the right carburetors kit, then you can go ahead and do the repairs that are most likely going to fix all your carburetors issues.
Before we go ahead and open up the lounge, you need to spray the outside of the carburetor with some carburetor cleaner.
It will ensure that no dust will get into the carburetor and also will allow you to navigate around your carburetor easily.
After cleaning outside the cab, you will have to dry it off with some clean paper towel or let it dry off which won’t take much of your time.
How to disassemble a carburetor
You can start disassembling from the diaphragm side so that it can be easy to remember when putting the parts together.
When disassembling the parts, I would advise you to arrange the parts starting from the first to the last in the order you dettach each part.
For a first-timer, this will come in handy in helping you know which part goes where when reassembling it.
After removing the diaphragm and the rubbers bellow, you will see the metering needle.
Here comes the tricky part. There is a spring just below the metering level, and this can bring your entire work to a standstill so pay attention to the details.
Put some pressure to the metering level as you open the screw. After you remove the screw, take off the pressure slowly preventing the spring from springing out.
If it does, you may never find it.
Now flip to the other side, and you will see the valves are and open the part up.
On this part also you will find the inlet filter for which you are also required to remove. And when all that is over you are now required to clean your carburetor.
How to the clean the carburetor
There are two known methods for cleaning the carburetor that is the use of a carburetor cleaner and use of the ultrasonic cleaner.
However, while cleaning you should avoid sticking in metal into the cabs openings since they are precise and can quickly get damaged.
Using soft things such as fishing lines plastics or rubbers can help in reducing the risks of any damages to the carburetor.
Now let’s look at how to clean your carburetor using the carburetor cleaner using this you will have to clean all-round the carburetor plus through all the passages/ holes all over the carburetor.
Also, you can use soft cleaners such as the fishing line to help clean the passages if you feel it’s necessary.
Using an ultrasonic cleaner is the most effective method you can use while cleaning the carburetor. Besides, it doesn’t require a lot of work.
You only need water and dish soap to clean. Some models heat water to increase effectiveness.
After the parts are excellently clean, it is time to dry and use a compressor to flow any water that may have remain in our carburetors passageways.
If you are certain that all the parts are clean, it’s time reassemble are replace the worn-out parts.
How to rebuild the carburetor
To reassemble the carburetor first, you are required to take the kit and remove all the spare parts available.
The one thing you will notice for a complete kit is that all the parts available may exceed the number required since it was not meant to be made for a one-time thing.
After removing them match them with the parts that we earlier arrange while dismantling while replacing them with the newly acquired parts.
It will allow you to stay organized. The other parts that are not going to be used store them well you might need it next time.
Now get to the reassembling part, here you will start from where you ended in disassembling. Now let’s place the inlet filter screen make sure it is well placed to prevent it from clogging the parts.
Now, the next thing we will need to install is the inlet cover. From there, you can install the gas kit followed by the reap valves and then place the assembly on to the calibrators body.
Secure these into place by using a screw.
Now let’s get to the most tricky part of the re-assembly process for the diaphragm of the carburetor.
First, we will do the metering needle assembly (here you get the needle into the lever), balance the needle at the end of the lever and place the spring into the carburetors body carefully.
Then you need to place the needle assembly back to the carburetors assemble. And slowly apply pressure at the end of the spring to prevent springing out.
Secure them using a screw.
With that now in place now turn to the diaphragm gasket and install into place. The install the diaphragm and finally the cover before securing them tightly in place by the use of the screw.
How to re-install the carburetor to the chainsaw
With all these parts in place and secured, it’s time to place the carburetor back to the chainsaw.
First, re-install the chock lever then slide the carburetor trough the two screws on the saw and allow it and re-attach the throttle linkage.
Now tightly secure the carburetor with the nuts into place. Go back to the fuel lines that you detached earlier and re-attach them into place and remove the clamps.
Next place backs the air filter and first remove any dirt that may be attached in it then next place the air filter cover.
Hold them into place by tightening the screw into position using the flat head screwdriver. Replace the spark plug wire in place and fill your chainsaw with clean fuel.
Please give it a run, and you’re now ready to get to work.
Conclusion
Disassembling and rebuilding a chainsaw by yourself or even fixing the parts may not be an easy task. And you may get it wrong half the time.
However, by doing it yourself, you will better understand your powerful tool. It will also allow you to save a lot when it comes to maintenance and repair costs.
